Compiere Material Planning
Compiere Material Planning Setup contains the below procedures
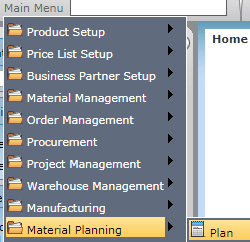
Main Menu--> Material Planning --> Plan
Product Setup
Product
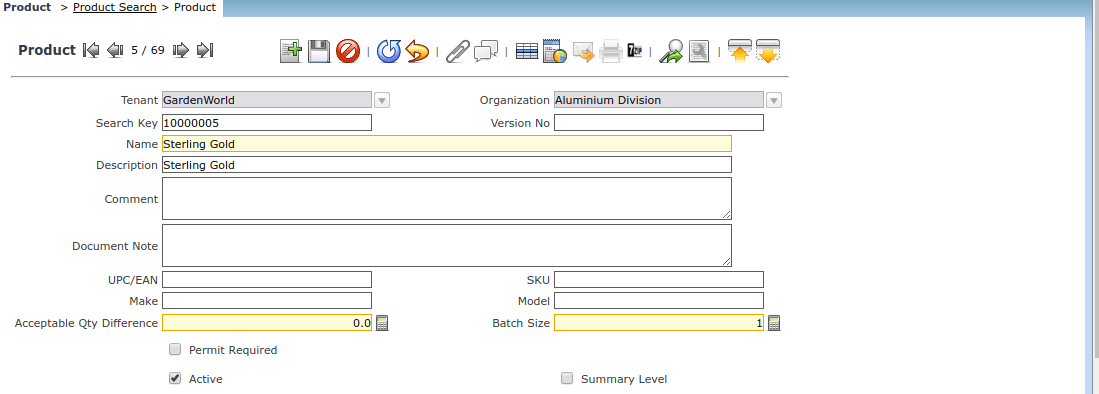
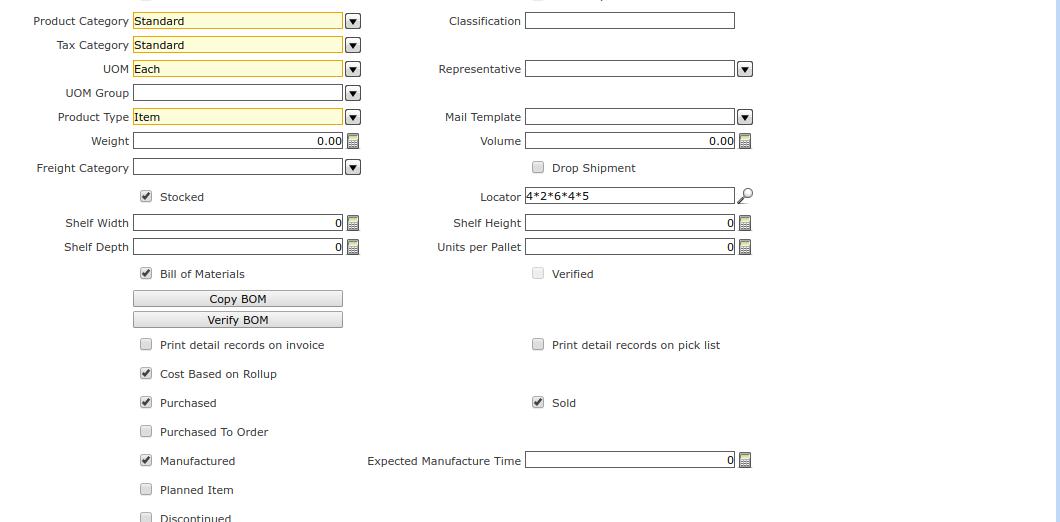
Mark products as Planned in the Product window indicating that they are available for material planning. If the product is procured, enter a current vendor in the Purchasing tab of the Product window along with the procurement lead time in the Promised Delivery Time field. If the product is manufactured, mark it so in the Product window and provide the manufacturing lead time in the Expected Manufacture Time field.
Bill of Materials Functionality
Bill of Materials
Use the Bill of Materials to specify the components that are required to manufacture the product assembly, and how many of each component is required. You can define Bills of Material with any number of levels.
For more information on the Bill of Materials, refer to the Bill of Materials section of the utility chapter.
Manufacturing Setup
Manufacturing
If the planned products are to be manufactured, you will need to define a Current Active, Manufacturing BOM and Routing for them. You will also set up related to defining and executing work orders.
For more information on Manufacturing, refer to the Manufacturing chapter.
Compiere Material Planning Setup
Plan
Define a plan with key attributes required by the material planning engine. A plan must include a warehouse. Only products in that warehouse may be considered for planning by this plan. You can only have one action plan for a warehouse at any given point in time. The planning engine will only execute the action plan.
Forecasting

Main --> Material Planning --> Forecast

Optionally enter or import a forecast. Select planned products from the planned warehouse and enter forecast quantities for the planning periods. You can define more than one forecast for each plan.
Master Demand

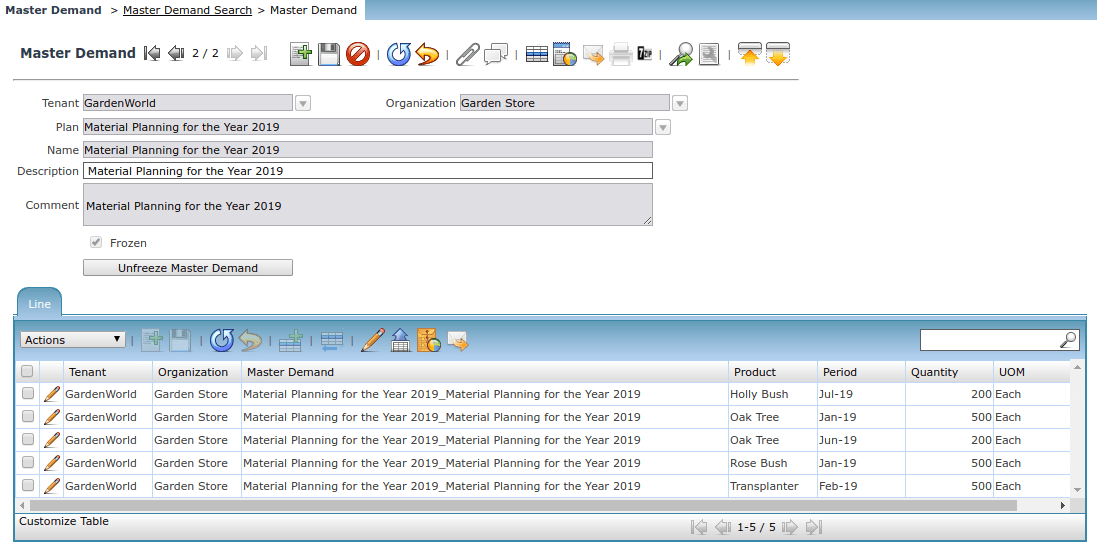
Enter or import a master’s demand. You can also consolidate multiple forecasts into a single master demand. Select planned products from the planned warehouse and enter demand quantities for the planning periods.
Material Planning Execution
Run Plan
Verify that the periods you are planning for are Open. If not, open them. We can do this in the Calendar Year and Period window.
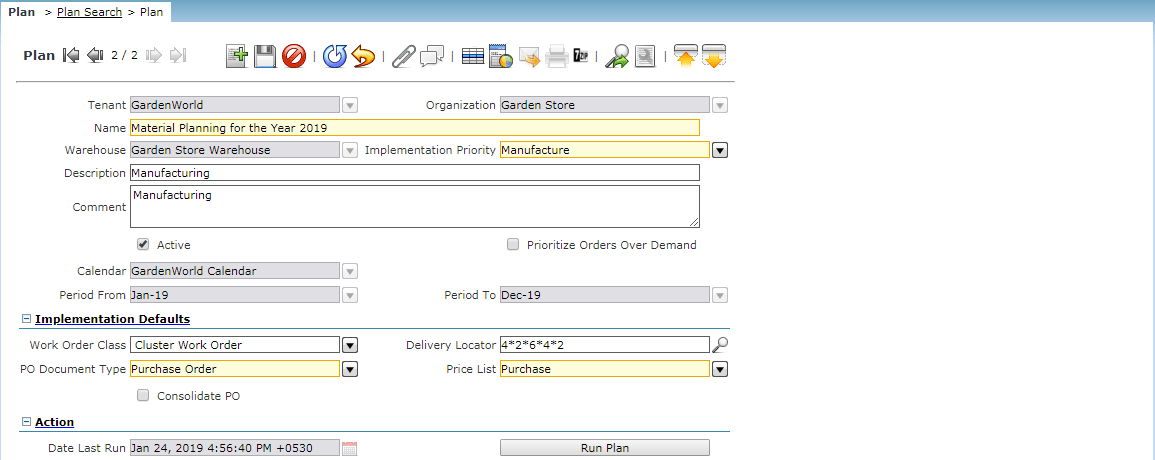
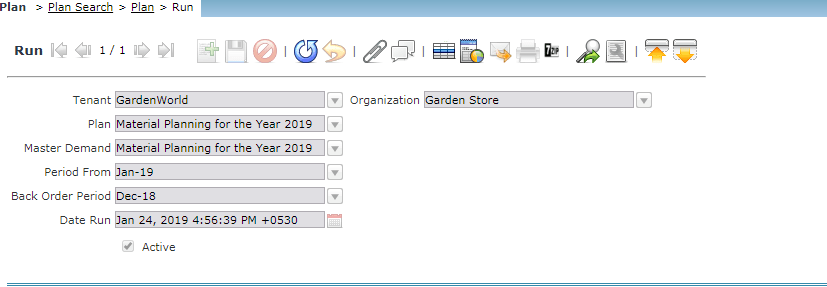
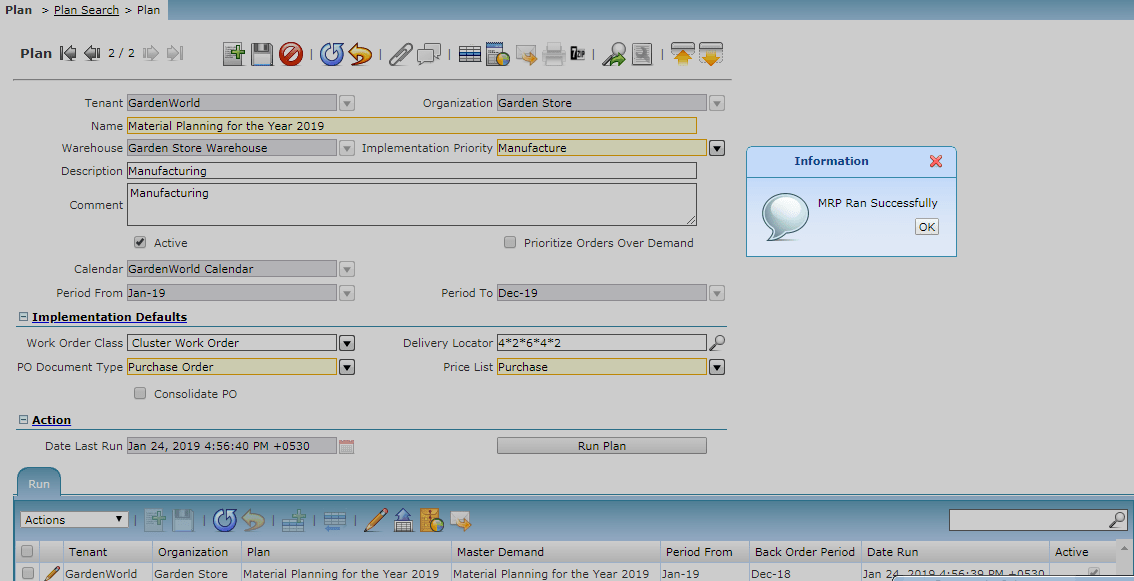
Run the material planning engine for a Master Demand and period range. The planning engine looks at the Master Demand, open orders, inventory levels and lead times to calculate the net requirement and recommend purchase orders and work orders.
View details on plan calculations such as Expected Receipt, Planned Availability, and Net Requirement. Also, release purchase orders and work orders recommended by the plan.
Search and release purchase orders and work orders recommended by the plan.
Planners Workbench

Main Menu --> Material Planning --> Planners Workbench
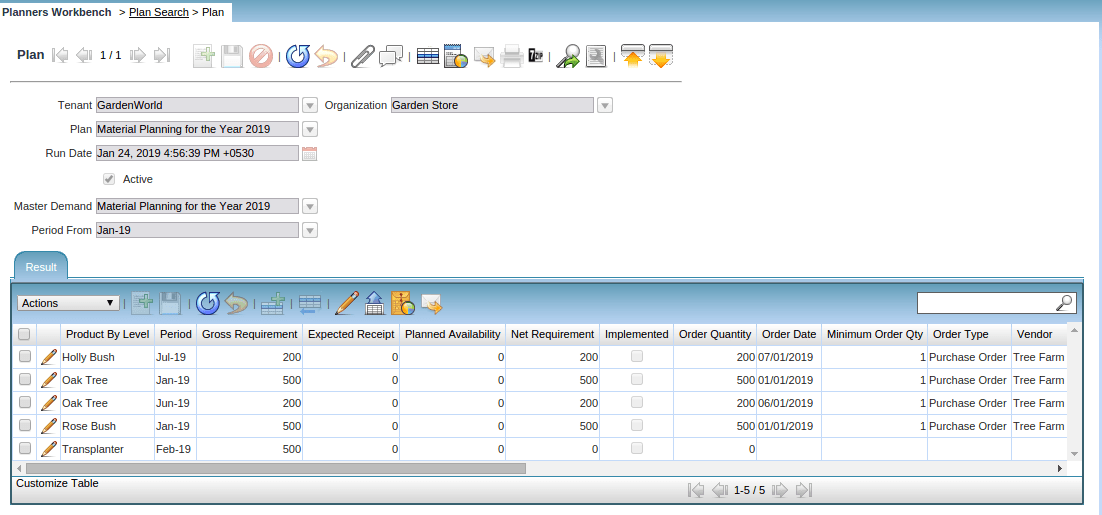
In Grid View, the Product By Level displays the product being planned in this plan result line. It could be the master demand product or a BOM component in case the master demand product is a BOM parent.
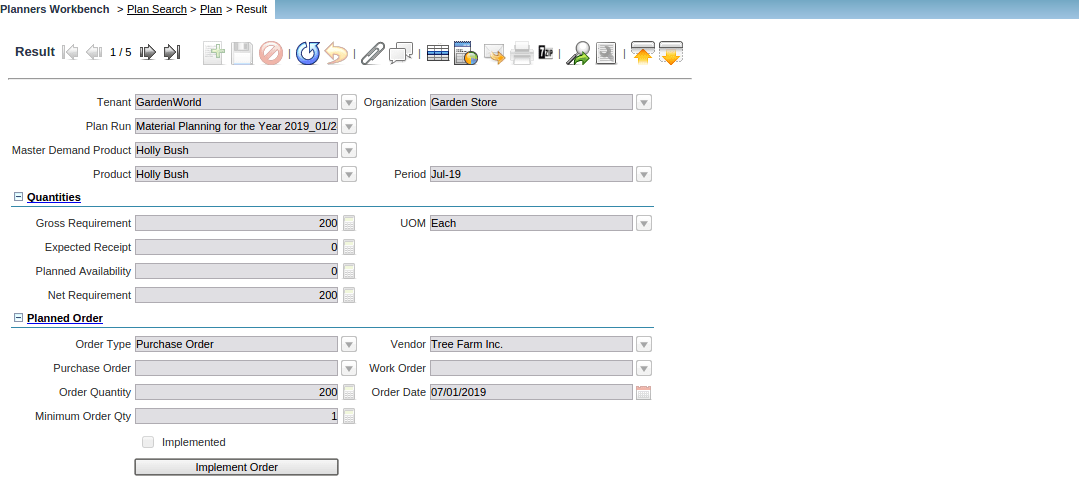
In Single Record View, the Product displays the master demand product or a BOM component in case the master demand product is a BOM parent.
The Period indicates the plan period in which this product is required. Products are marked as required on the first date of this period if being procured and by the last date of the month if being manufactured.
The Master Demand Product displays the product that was entered in the Master Demand. In case the plan result line is for a BOM component, this field will display the BOM parent from the master demand this component is associated with.
The Immediate Parent Product and Level No display the immediate BOM parent and BOM level in case the plan result line is for a BOM component.
The Gross Requirement is the quantity of the product that is required based on the Master Demand and BOM explosion. If the product in the Master Demand is not a BOM product, the master demand number is copied over as the Gross Requirement. If the product in the Master Demand is a BOM product, it is recursively exploded into its component lines. The Gross Requirement is calculated by multiplying the BOM component quantity by the parent product’s net requirement.
The Expected Receipt is the number of products you expect to be received or manufactured through open purchase orders or work orders. You can view a list of these orders in the audit tabs in the Plan window.
Planned Availability is the number of products available to satisfy the master demand. It is calculated by adding this period’s Expected Receipt to any carried over Planned Availability from the previous period. E.g. In January, Net Requirement for wood doors is 1000 and Planned Availability is 1200. So, there is a 200 extra wood door in January. In February, the Expected Receipt of Wood doors is 200. Hence, the Planned Availability of Wood doors in February is 200 + 200 = 400
The Net Requirement is the final product quantity that needs to be procured or manufactured to satisfy the master demand. It is calculated as the Gross Requirement minus Planned Availability. E.g. If Gross Requirement for Wood doors in January is 800 and Planned Availability is 1200, the Net Requirement is 0. In February, if the Gross Requirement of Wood door is 1500 and Planned Availability is 1000, the Net Requirement is 1500 – 1000 = 500.
The UOM field indicates the UOM for all the product quantities in the fields described above.
The Order Type field indicates the type of planned order that will be released when you implement this plan result line. The value could be either Purchase Order or Work Order.
The Vendor indicates the vendor with whom the purchase order will be placed.
Once the plan is implemented, the Purchase Order or Work Order fields will hold details about the order placed.
The Order Quantity and Order Date indicate the product quantity ordered and the date on which the order was placed.
The Implemented checkbox indicates if an order has been released for this plan result line.
The Implement Order button lets you release an order for the plan result line. You can only release orders for master demand products and not for BOM components. Orders for BOM components are automatically released when you implement the parent product. This button is only available if the plan result line has not already been implemented.
Implement Plan
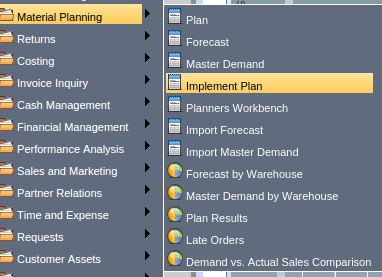
Material Planning --> Implementation Plan
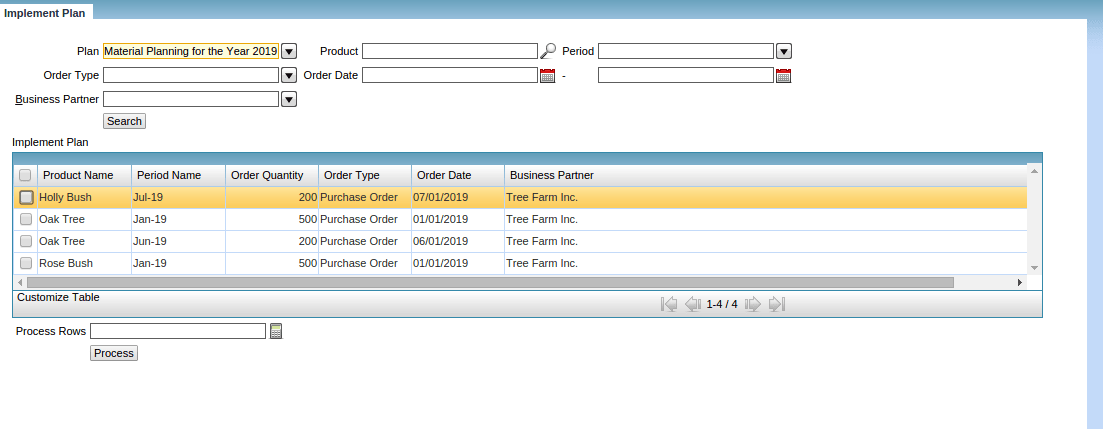

Enter search criteria to return a list of summary plan results. Plan results from BOM explosions are not displayed here. To view those, you need to use the Planners Workbench.
Work Orders released are automatically prepared to be In Progress. They use the default BOM and Routing that you have set up for the product assembly. Quantity is populated from the Net Requirement. The Scheduled Date From is populated based on the manufacturing lead time and period the product is required in. The Work Order is frozen against the update of many values and is released to the shop floor for processing.

Select the no of Rows required to be processed.
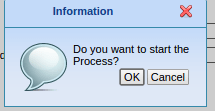
Purchase Orders released are automatically prepared to be In Progress. They use the current vendor from the Purchasing tab of the Product window. The purchase order line quantity is populated from the Net Requirement and it is reserved in Inventory. The Date Ordered and Date Promised are set based on the BOM definition and procurement lead time specified in the Promised Delivery Time field for the current vendor in the Purchasing tab of the Product window. E.g. Assume procurement lead time for Wood door is 10 days. If Net Requirement for Bush in February is 90, a Purchase Order for 500 Wood doors will be placed with a Date Ordered of Jan 29 and Date Promised of Feb 1. The Work Order will have a Scheduled Date From Feb 1.
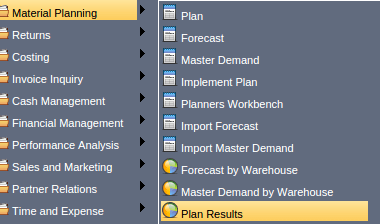
Main Menu --> Material Planning --> Plan Results


Material Management Process
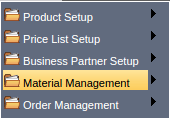
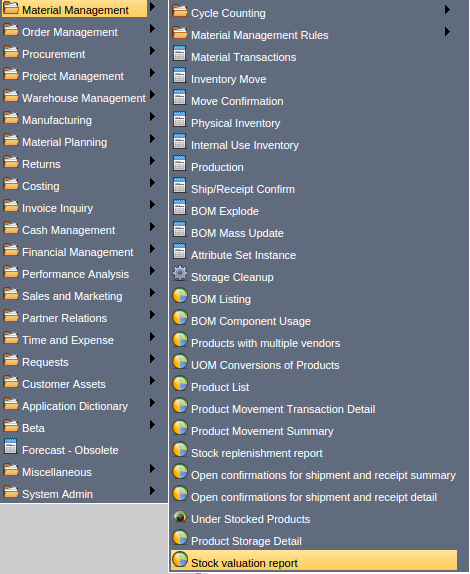
Main Menu --> Material Management
The Materials Management of Tenant Garden World addresses a broad range of issues around your material inventory: products, price lists, inventory receipts, shipments, movements, and counts within a company, its organizations, as well as to and from suppliers and customers.
The Material Management Rules comprise Products and Price Lists, which were discussed already in the respective Modules.
The Material Management aspects in tenant Garden World are
Other Material Management aspects are:
- Warehouse
- Shipments (receipts)
- Inventory Movements
- Physical Inventory
- Internal Use Inventory
- Production
- Customer Shipment
- Replenishment (Demand)
- Available to Promise
- Valuation Costing
Material Movements
1. External Movements
2. Internal Movements
External Movements are Receipts and Shipments. A Receipt is a document for a Product that you receive while a Shipment is a document for a Product you send out.
Internal Movements include Inventory Moves, Physical Inventory and ‘Production’ (or Assembly) moves. Inventory Moves are moves for a specific reason (e.g. Movement of Products from a QA Warehouse to a Storage Warehouse). Physical Inventory moves are carried out when the system count of products differs from the actual or physical count of products. This is generally known as “shrinkage.” Movements are represented by a change of the physical or virtual location. Production moves reflect the movements done when you produce or assemble products on the basis of a Bill of Materials.
Physical Inventory
The following steps are to be carried out:
- Create a Count List
- Print it for manual checking
- Enter the differences
- Process Inventory Count
If there are delays during the physical counting transactions (which very often happens), Compiere allows you to Update Counts. Compiere posts the differences between the Quantity Count and the Quantity Book. This allows for a delay between the actual count and the processing of the inventory count so the business operations can continue.
Internal Use Inventory
The Internal Use Inventory process allows you to move items out of stock for use within your company. Unlike Physical Inventory where you count the quantity of an item, in Internal Use Inventory you indicate the quantity that you will be removing from Inventory.
Production or Assembly
The following steps are to be carried out:
- Create a Stored Bill of Materials (BOM)
- Create a Production Plan
- Create Production Lines
- View and Modify, if necessary the Production Lines
- Post the Production
There may be situations where one of the production lines must be changed (e.g. replace a specific part on a one-time basis). You can change the Production lines directly and process. There is no need to modify the existing Bill of Materials or create a new one.
Inventory Valuation
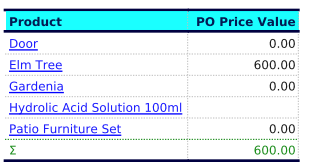
The Inventory Valuation Report is based on the Price List. It lists the PO price and calculates the Quantity on the basis of the Valuation Date.
Physical Inventory
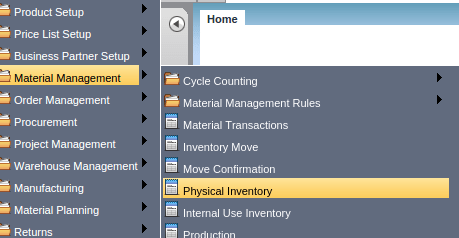
Main Menu --> Material Management --> Physical Inventory
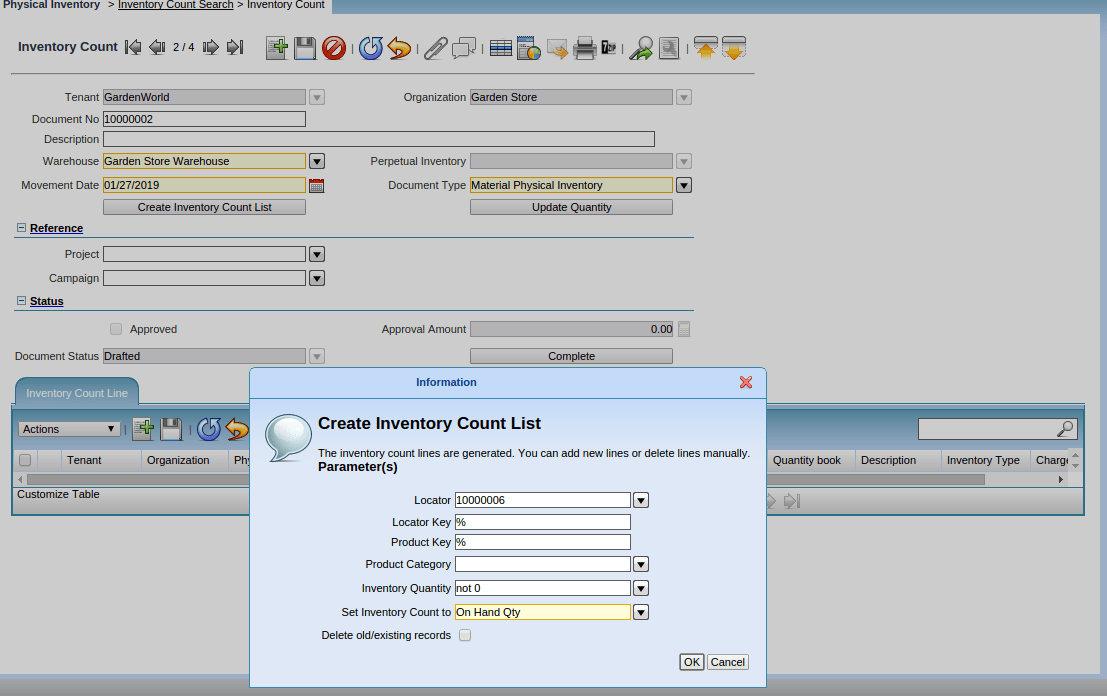
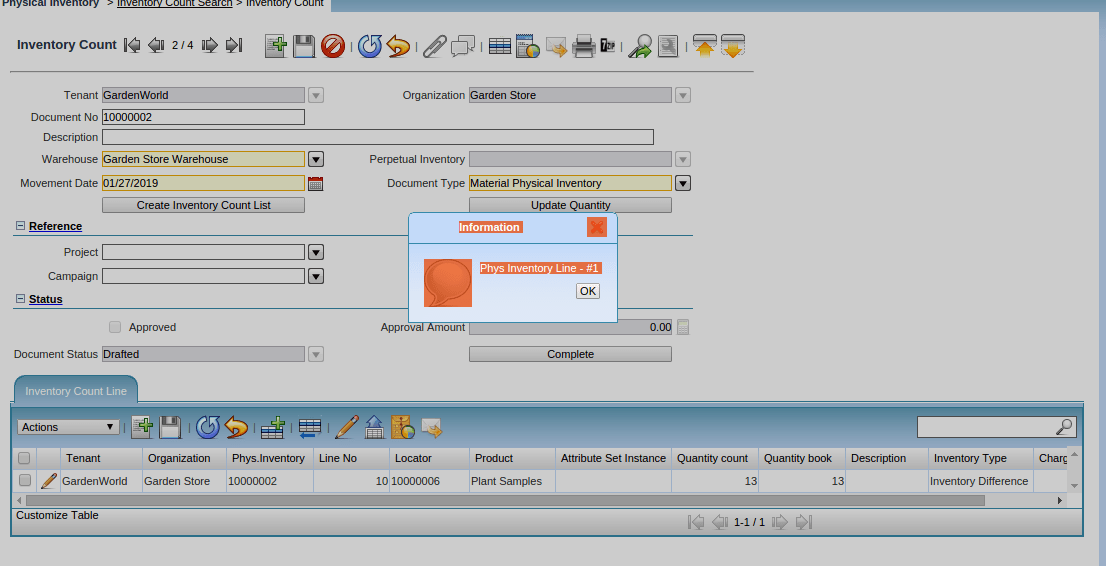
Click the Create Inventory Count List button after saving the record to generate your inventory count lines. Then the Inventory Count Line will be generated.

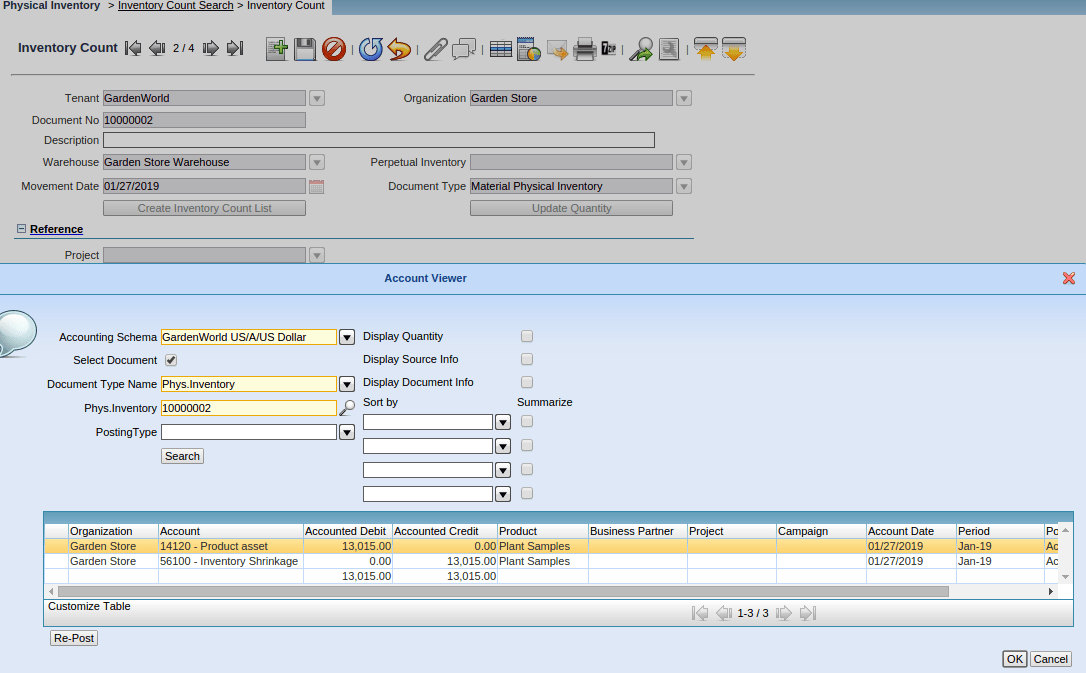
Inventory Quantity Count has been Changed to 150 and the inventory type is selected as Inventory difference.
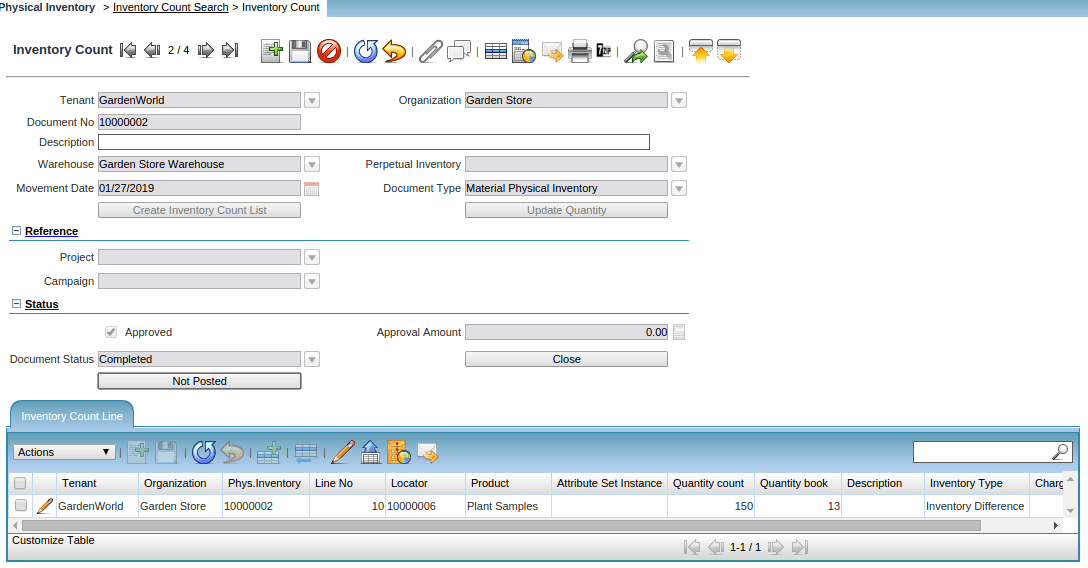
Complete the Transaction and post it to the accounts
Internal Use Inventory
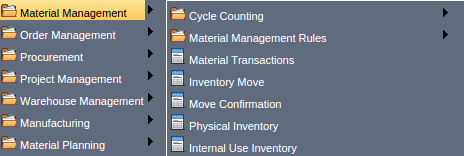
Main Menu --> Material Management --> Internal Use Inventory
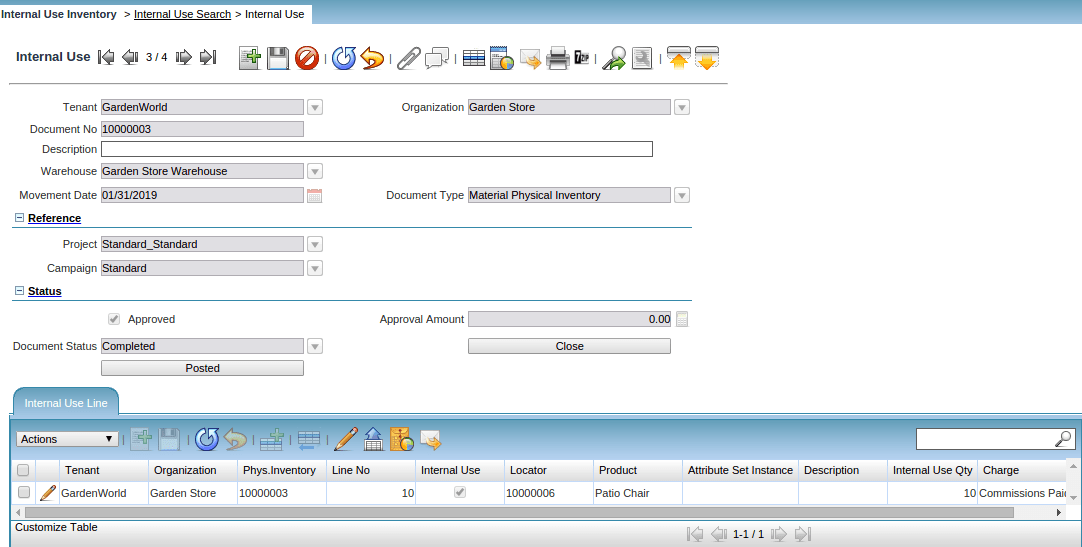
This Menu allows you to move items out of stock that will be used by the Tenant Garden World as opposed to being sold to a customer.
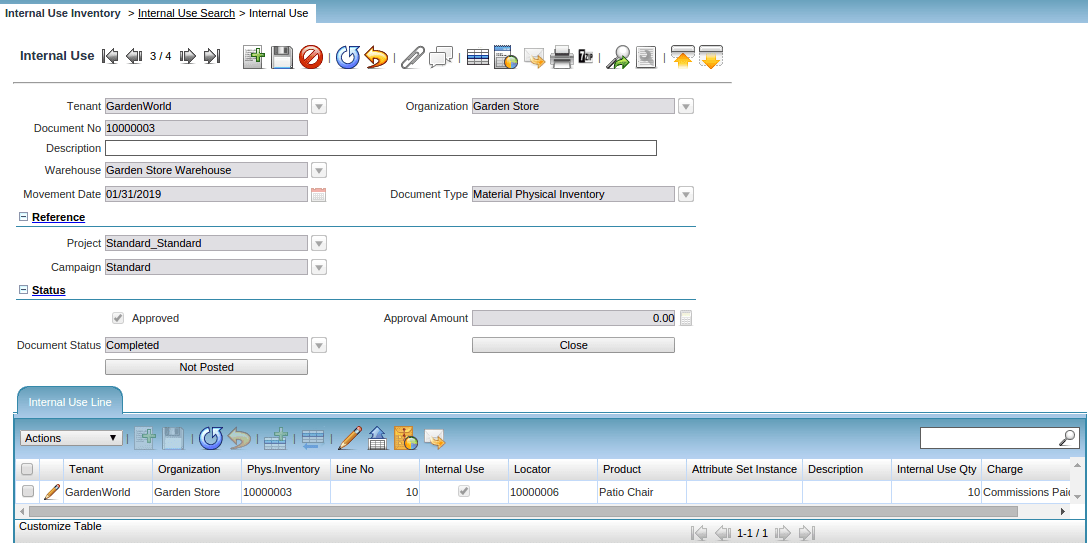
Enter Movement Date for the document. Select a Document Type for this Internal use Inventory. We are trying to Move the product Patio Chair. Enter the Internal Use Qty for this line and complete the document.

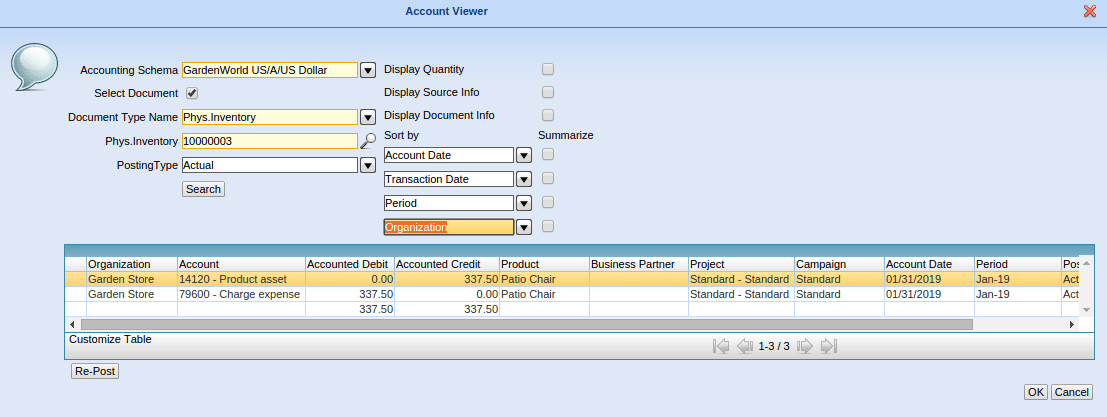
Posting the Internal Movement of the product to the Accounts.
Inventory Move

Main Menu –> Material Management –> Inventory Move.

This menu allows you to move inventory from one locator or warehouse to another. After the appropriate lines are entered selecting the Process Movements button will adjust the inventory.
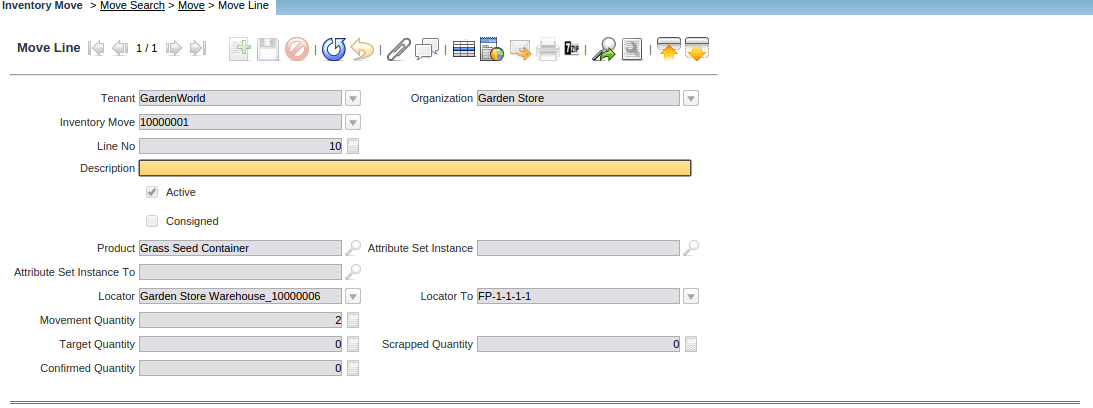
Here we are Selecting the Product with the help of the Search icon. We are Moving the Product Grass Seed Container from the Parent Locator to the other Locator. In Transit and Approved checkbox, Approval Amount, and Date received fields will be used in a future release.
After Performing the Inputs complete the Inventory Move.
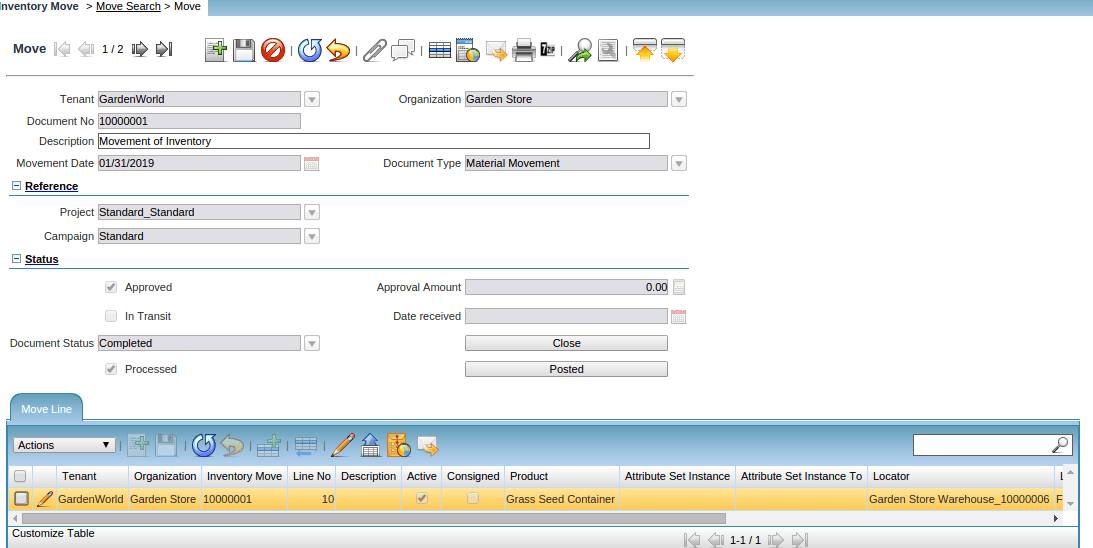
Posting the Inventory Move t the accounts and the accounts related adjustment would be made pertaining to that warehouse.
Inventory Move
DR: Product Asset
CR: Product Asset Below transaction confirms the Debit and the credit of the Inventory Movement.
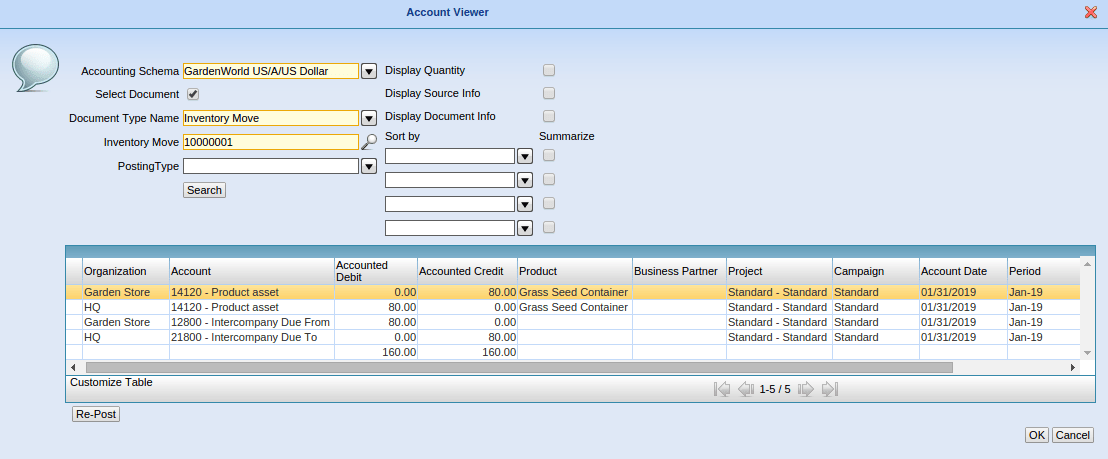
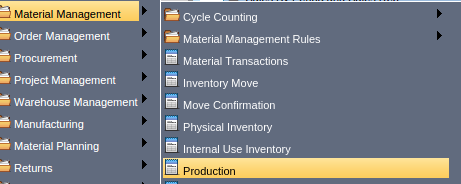
Main Menu –> Material Management –> Production

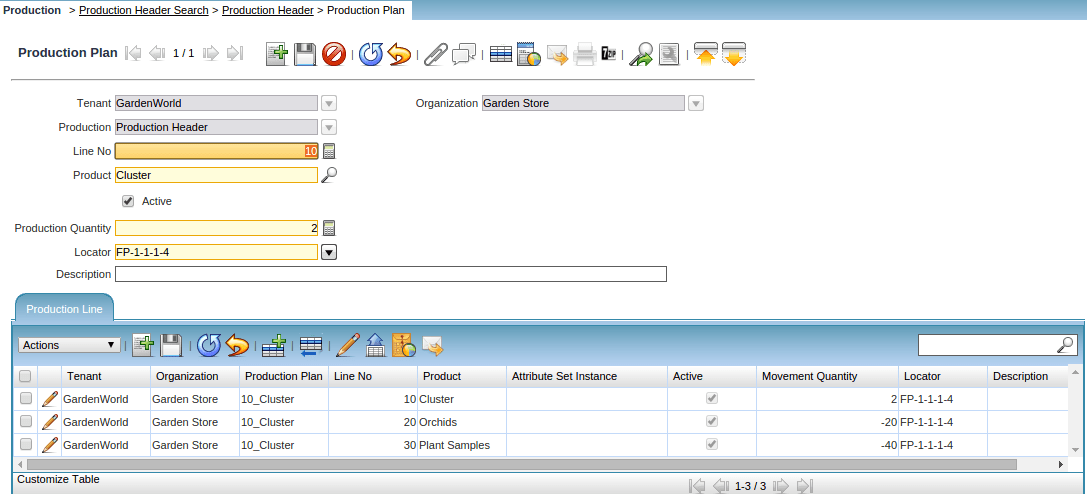
Production is used to create a bunch of products that do not require any resources. For eg, the tenant may sell Chairs, Watering Equipment, Pots, and hanging pots.
The Production menu defines the plan and inventory movements that occur when a product is created from a bill of materials. Once the Production Header is Completed move onto Creation of the Production Plan Line items.

If the process completed successfully, the bottom line displays how many records were updated. The Not posted button appears. Click on it and confirm the dialog window that displays. Your application server must be running for your accounting entries to be created and posted.
BOM Listing Report
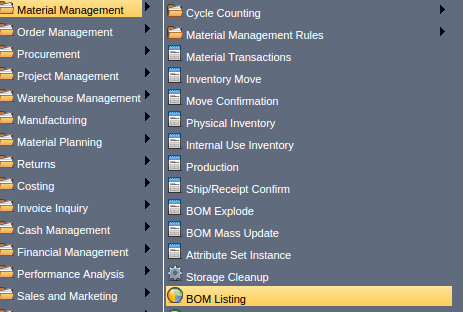
Main Menu --> Material Management --> BOM Listing

BOM Component Usage Report
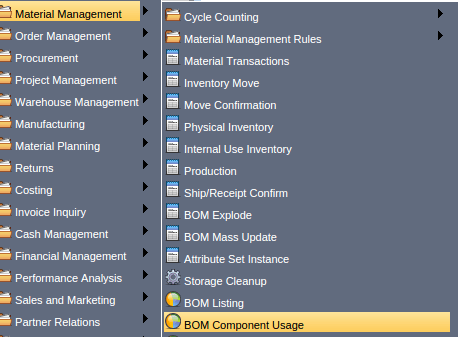

Product with Multiple Vendor
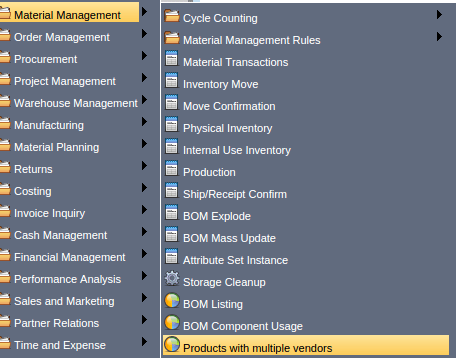
Main Menu --> Product with Multiple Vendor

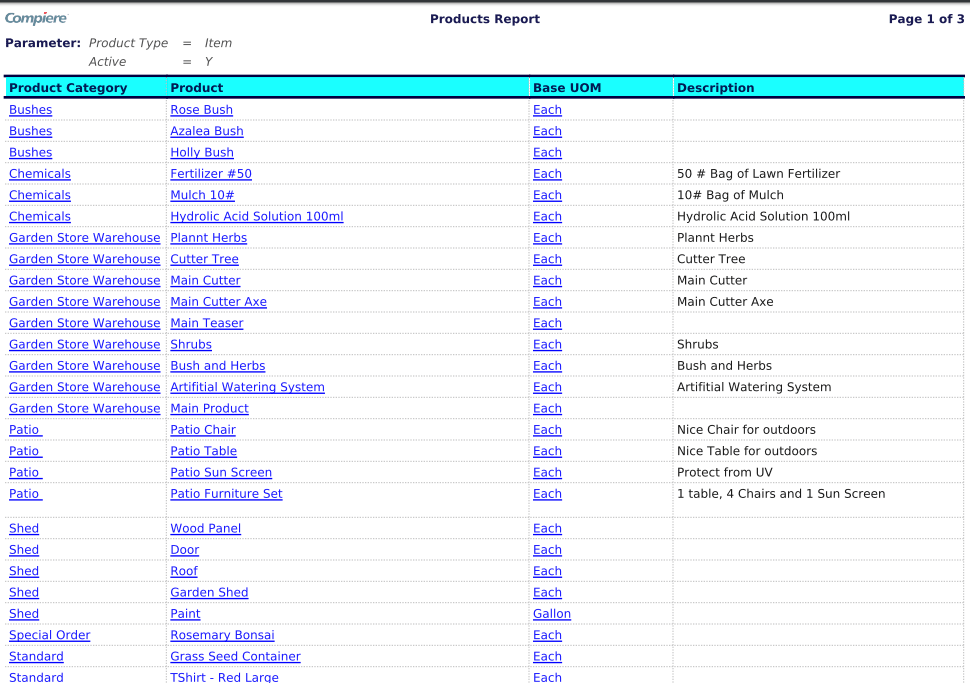
Product List
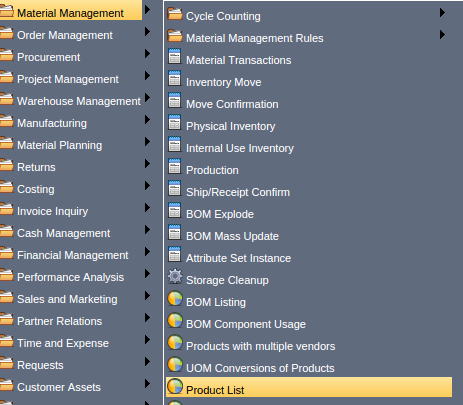
Main Menu –> Material Management –> Product List
Product Movement Transaction Detail
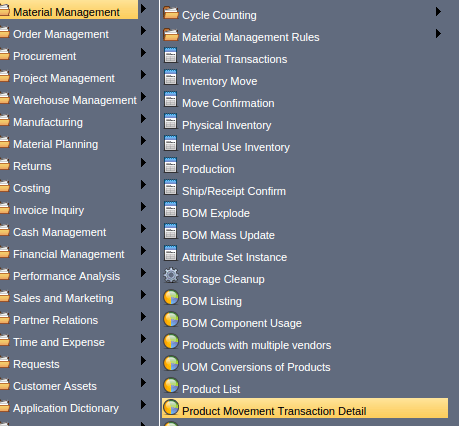
Main Menu –> Material Management –> Product Movement Transaction Detail

Product Movement Summary
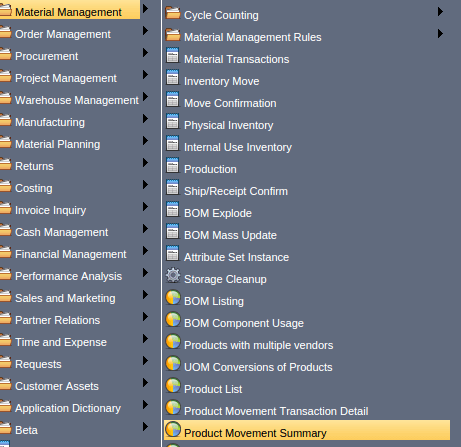
Main Menu –> Material Management –> Product Movement Summary

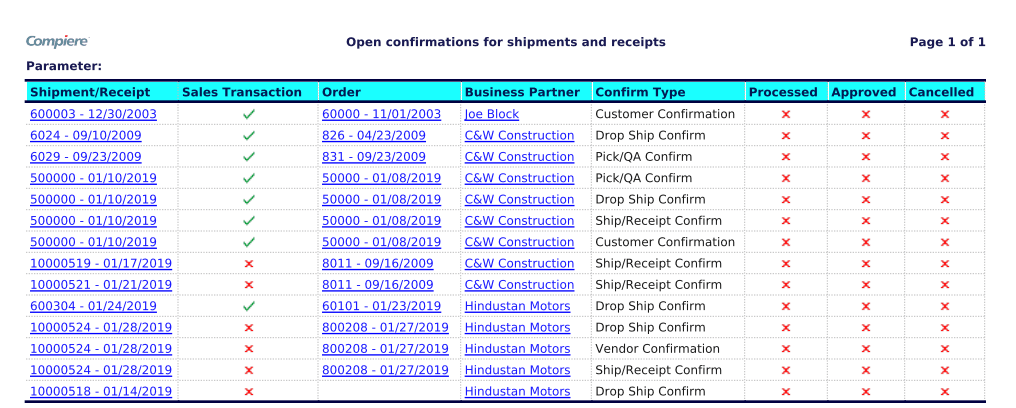
Open Confirmation for Receipt and Summary
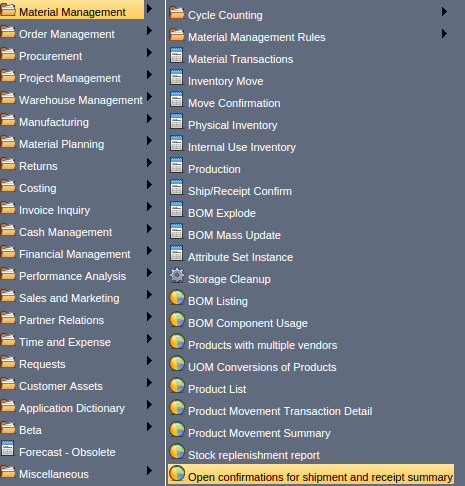
Main Menu –> Material Management –> Open Confirmation for Shipment and Receipt Summary
Product Storage Detail
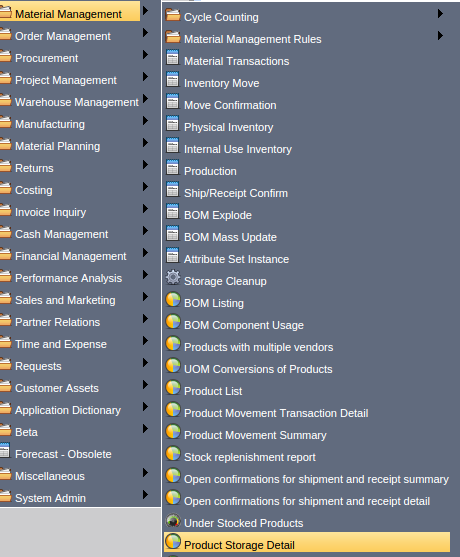
Main Menu --> Material Management --> Product Storage Detail
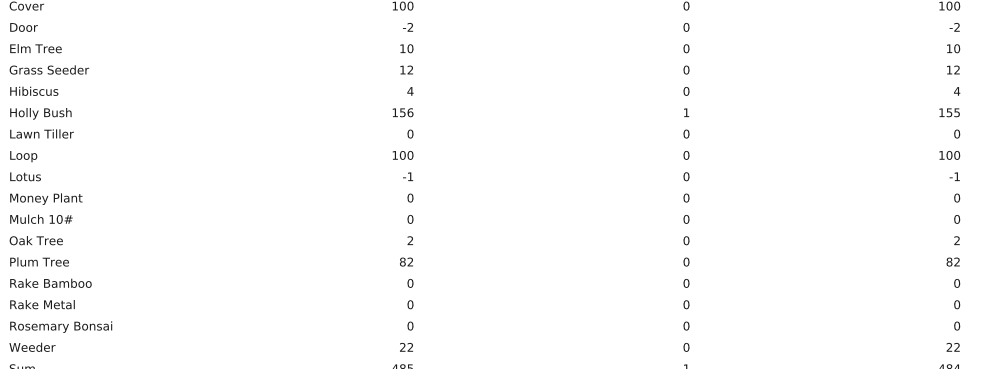
Stock Valuation Report
