Create and Submit Purchase Order(PO)
Step 1: Access the Purchase Menu
- Log in to your backend with Manager privileges
- Navigate to Purchase → Order
Step 2: Create a Purchase Order (PO)
- Click the Create button
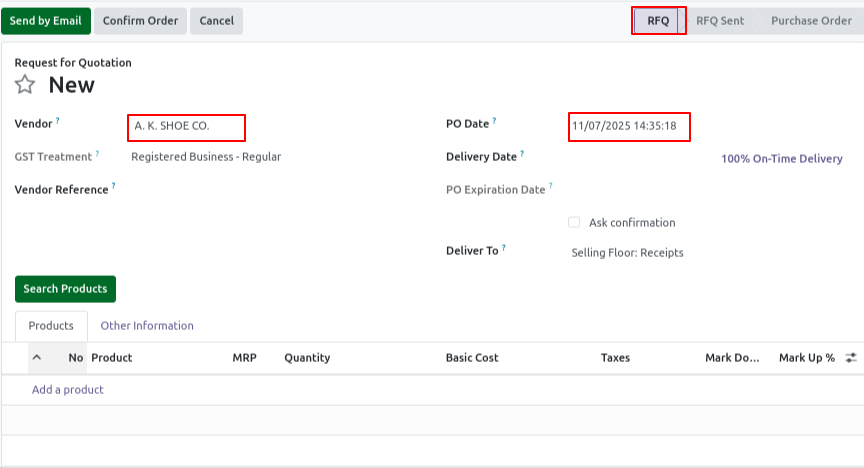
- Fill in the basic information:
- Vendor: Choose the vendor/supplier you’re purchasing from.
- PO Date: Defaults to today; adjust if needed.
- Delivery Date: Optional; set if you expect delivery on a specific day.
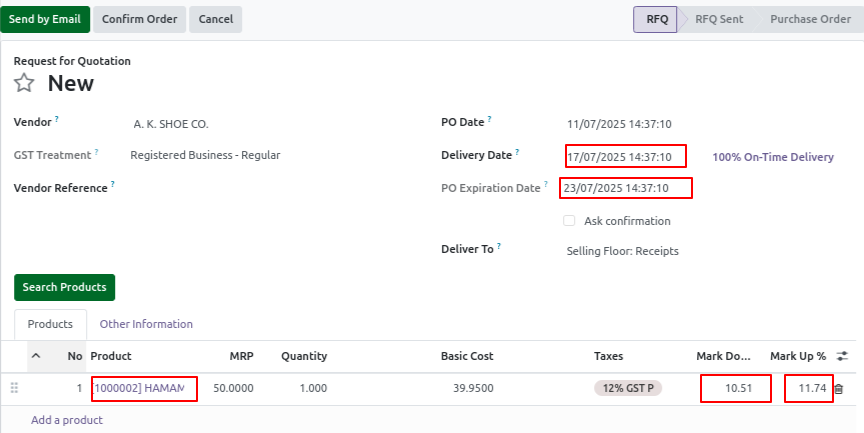
- Click “Add a Product” in the Order Lines section.
- For each product:
- Choose the Product (drop down)
- Quantity: Enter the quantity you want to buy.
- MRP: Automatically filled from the product, but can be overridden if needed.
- Basic Cost: Enter the basic cost manually, or allow it to auto-fill from the product’s vendor price list.
- Mark-up and Mark-down : Automatically calculate markup or markdown percentage
Step 3: Purchase Details
- General Information:
- Vendor-Related Product Display in Order Line:
When a vendor is selected, only the products associated with that vendor will appear in the product dropdown on the order lines.
- Vendor-Related Product Display in Order Line:
Step 1 :Open PO -> Requests for Quotation
Step 2 : After Click Add a product
Step 3 : Click Confirm the Order
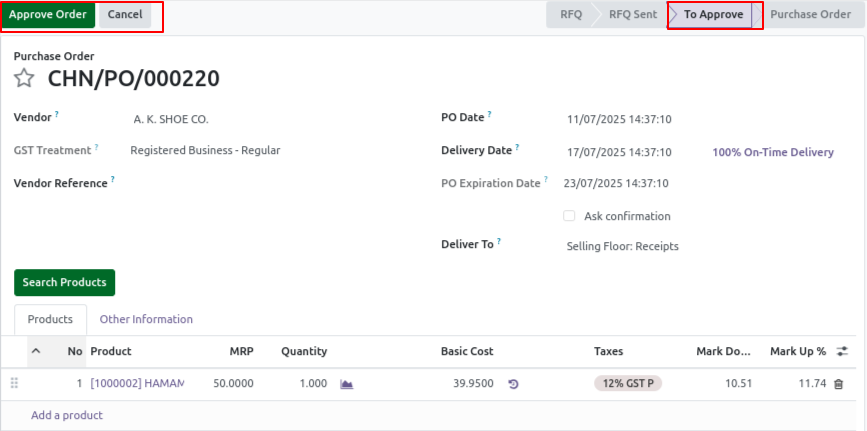
Step 4 : And Click Approve Order
Step 4: Save the Purchase Order
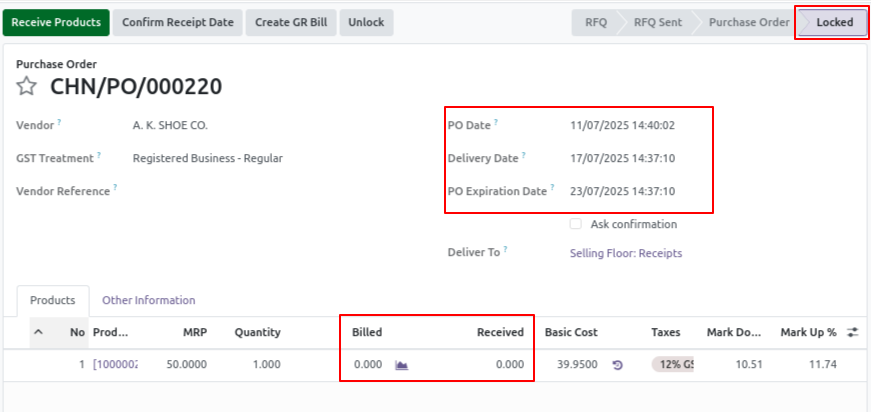
- Click Save Purchase Order
- You can later click “Confirm Order” to validate and send the purchase order to the vendor.
Tips
- Use the duplicate button to quickly create similar PO’s
- Import PO in bulk via the Import feature
- You can select product variants in the Purchase Order, like size, color, etc.
