How to Create a Vendor in ADempiere Retail
The Vendor Master is a centralised record that stores complete details about each supplier or vendor from whom goods or services are purchased. It includes basic info, contact, tax, payment terms, and bank details, used in the Purchase and Finance modules.
User Access
Who Can Access
- Admin
- Cashier
- Manager
What User Can Do
- Create a new vendor record
- Update vendor details (address, GST, PAN, etc.)
- Set default payment terms, currency, and tax type
- Activate or deactivate vendors
Pre-Requisite Activities
- Finalize vendor code/numbering format
- Collect valid documents (PAN, GST, bank details)
- Configure payment terms, tax categories, and vendor types
- Assign appropriate roles for access and approval
Business Partner
- Vendor Name & GSTIN must be unique
- GST number is mandatory for GST vendors
- Only authorized users can create or modify vendors
- Inactive vendors cannot be used in PO, GRN, or Invoice
- Vendor record cannot be deleted if any transaction exists
User Interface
Step 1 : Select ‘Vendor’ in Menu -> Master > Partner management > Business partner rules > Vendor or Search Vendor in Lookup.

Step 2 : To create new Vendor.

Step 3 : Enter the vendor details by following steps.

Step 4 : If you Choose the register vendor type then enter the vendor GST no.

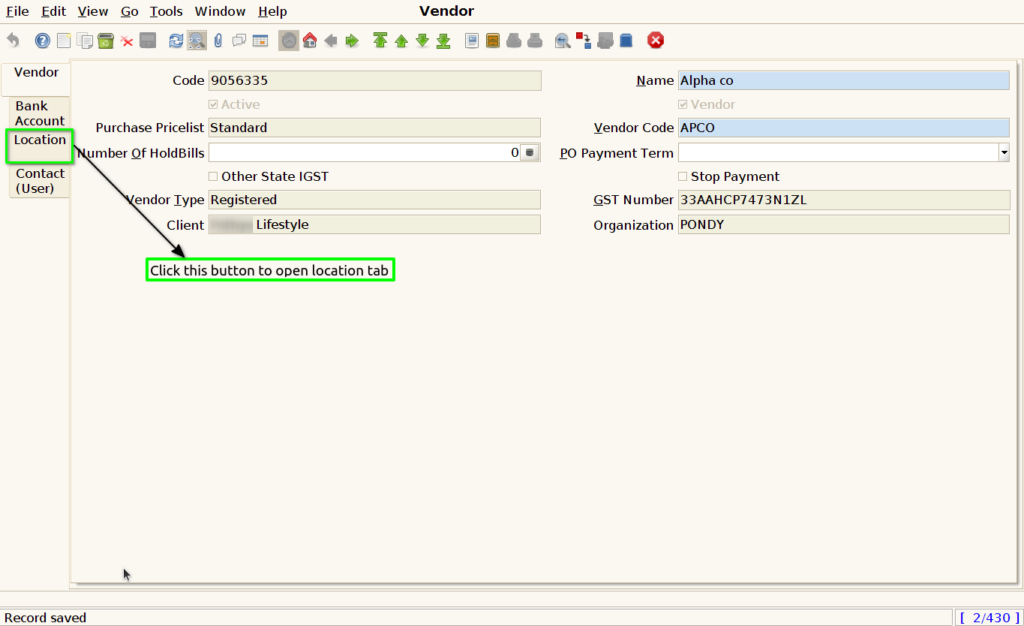
Step 5 : Click to open Location tab.
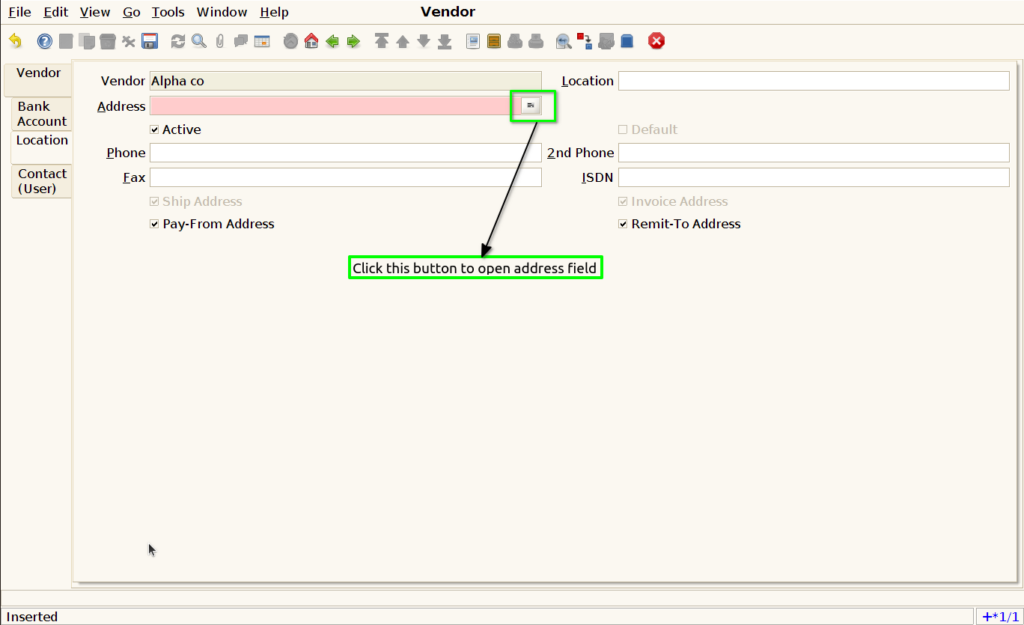
Step 6 : To create new record for vendor location.

Step 7 : Enter the vendor location details in address form by following steps.

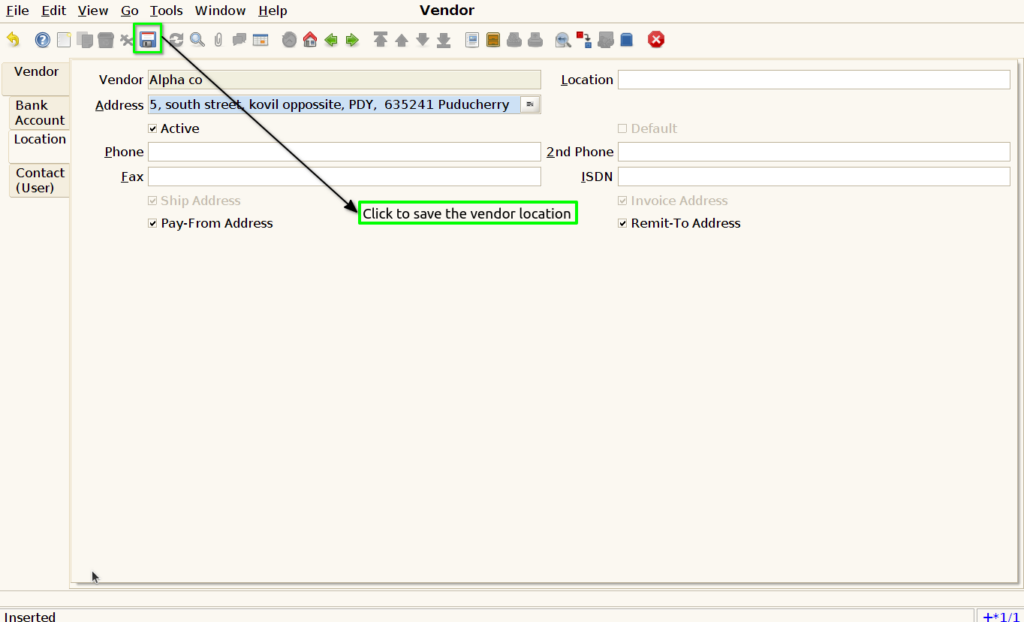
Step 8 : Save the vendor location , next this vendor is mapping in Product master.