How to Map a Vendor for a Product in Odoo Inventory
Setting up vendor mapping in Odoo Inventory is an essential step for maintaining accurate product master data and ensuring smooth purchasing operations. Vendor mapping simply means linking each product to the suppliers who are approved to provide it.
It helps businesses track important vendor details such as pricing, delivery lead times, and supplier-specific product codes. With this visibility, companies can make better purchasing decisions, manage vendor performance more effectively, and even maintain alternate suppliers to reduce risk.
Navigating to Vendor Mapping in Odoo Inventory
To map a vendor for a product, users can start by opening the Inventory module in Odoo. Inside the product section, they can select Product Master and choose the product they want to configure.
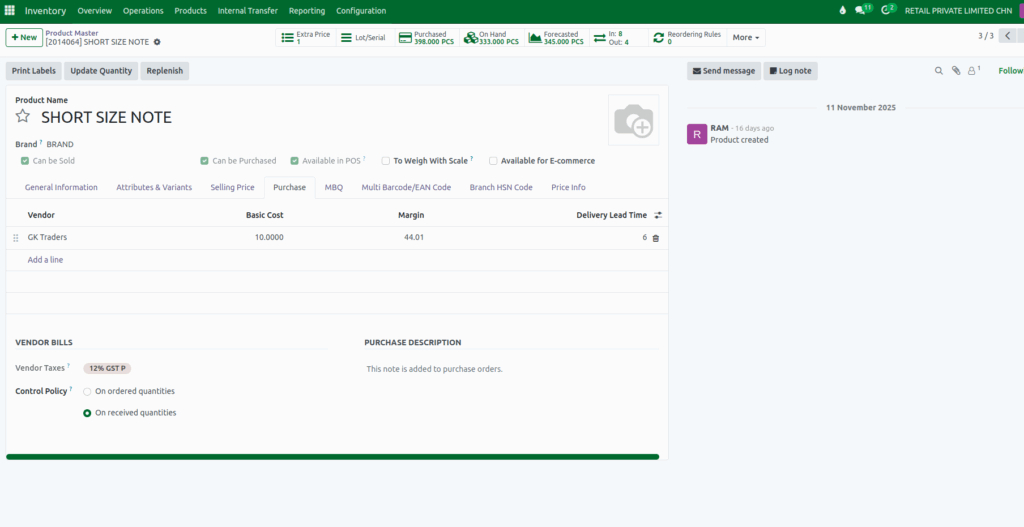
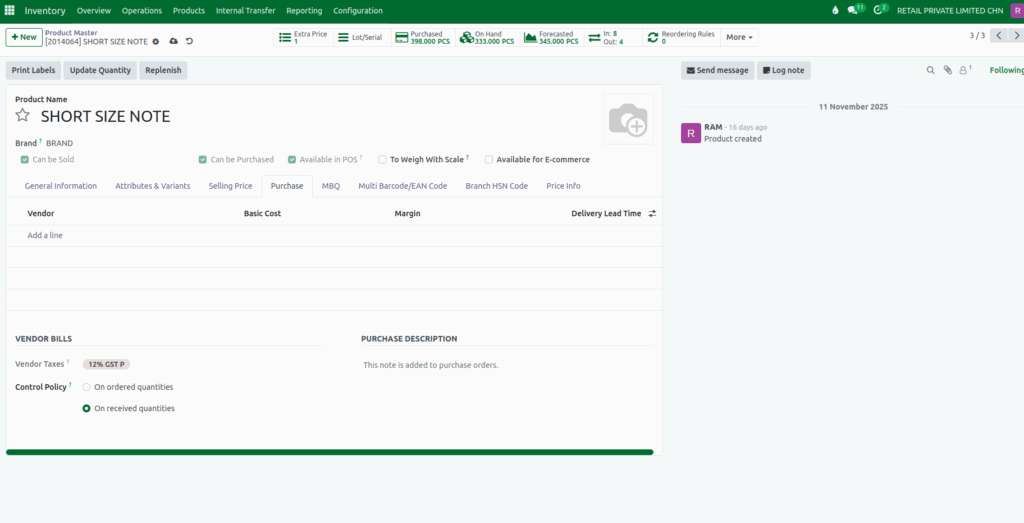
Once the product page opens, the Purchase tab displays all vendors already associated with that item. If no vendor exists yet, users can add a new one directly from this screen. This makes it easy to set up or modify supplier relationships at any time.
Configuring Vendors in the Purchase Tab
The Purchase tab is where users can define and manage all vendors linked to a product. Odoo allows assigning different vendors for the same product across multiple companies, which is especially helpful for businesses operating with multi-company setups.
It also supports mapping multiple vendors to a single product, helping companies maintain backup suppliers or compare prices between vendors. All supplier-related settings are stored neatly in the Vendor section, making it convenient to review or update information whenever needed.
Managing Basic Cost
Within the Purchase tab, users can also enter the Basic Cost for each product. This cost does not remain static, Odoo automatically updates it whenever a goods receipt (GR) bill is processed with a different cost. Once updated, the new Basic Cost is reflected automatically on future purchase orders as soon as the product is selected. This ensures purchasing teams always work with the most accurate and up-to-date cost information without manual updates.
Margin Alerts for the Current Vendor
Odoo also provides a helpful alert system for margins. When a vendor is marked as the current vendor for a product, the system monitors the product’s margin and notifies the user if it drops below the predefined GKM% specified in the Price Info tab. This helps businesses stay aware of profitability issues and maintain healthy margins without having to check manually.

Setting Lead Times for Each Vendor
Every product-vendor combination can have its own delivery lead time. Users can configure this easily in the vendor settings, allowing the procurement team to plan more accurately. Odoo assigns a default lead time of six days for new vendor entries, but this can be adjusted based on the vendor’s actual performance or agreements. Proper lead time setup helps avoid delays, supports production planning, and ensures timely stock replenishment.
Automatic Margin Calculation
Odoo also updates the product’s margin automatically based on the Basic Cost entered. This real-time margin calculation helps users quickly understand profitability while quoting or placing orders, removing the need for manual calculations and reducing the risk of errors.
Once every modification is done, save the product to apply the updates.