How to Create a Vendor in Odoo
A Vendor is an individual or company that sells goods or service to another entity. Managing vendors efficiently is essential for smooth Purchasing and maintaining good supplier relationships. Its helps business organize and track vendor information, purchase order, invoices and payments all in one place.
Create Vendor
- To create a vendor, go to Invoicing > Vendors > Vendors and click +new. The vendor creation screen will then open.
- They are two type of vendors: Individual and Company. Select one of types to enable the corresponding checkbox.
Note: The Vendor Name field is mandatory.

Vendor Details
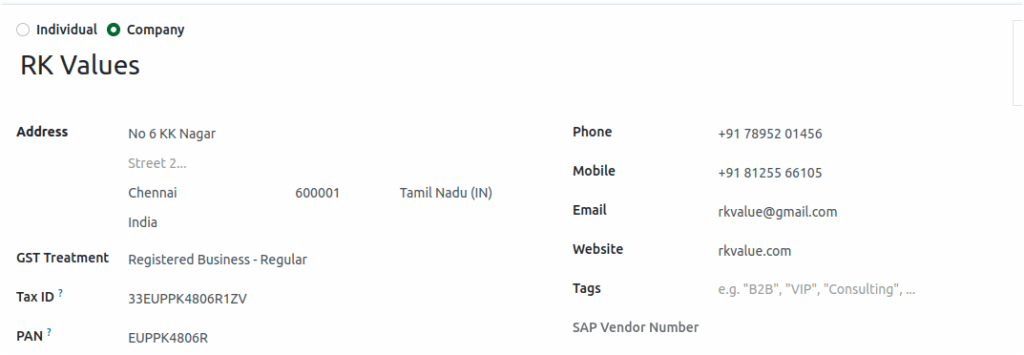
- Address Details: Enter the street name, city, zip, State & Country (search & select)
- GST Treatment: Mainly, two type are used: Registered Business-Regular and Unregistered Business. If you select Registered Business-Regular, you must enter the Tax ID. Once the Tax ID is entered, the PAN Number is automatically generated.
Note: Once your can select the vendor type as Company, the GST Treatment must be set to Registered Business-Regular.
- Mobile Number Validation: Enter a valid 10-digit mobile number starting with 6,7,8,9.
- Additional Details: Enter the Phone number, email address and website name.
Vendor Purchase Details
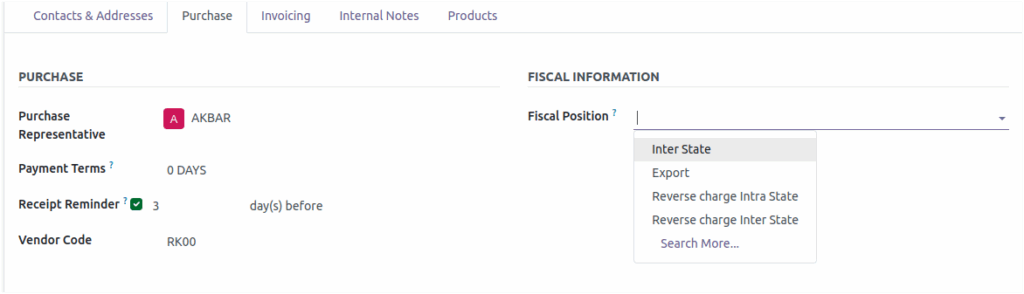
- Purchase Representative: Select the Purchase representative for this vendor. Payment Terms: This payment term will be used instead of the default one for purchase orders and vendor bills.
- Receipt Remainder:The system reminds the vendor a give few before delivery to confirm when the shipment will really arrive.
- Vendor Code: Ensure that the vendor code is included in the product barcode print
- Fiscal Position: If the vendor is from Other State, your want to select the Interstate.
Note: If the Fiscal Position is set to Interstate, the applicable tax will be IGST instead of CGST and SGST.
Set Invoicing and Internal Notes Details
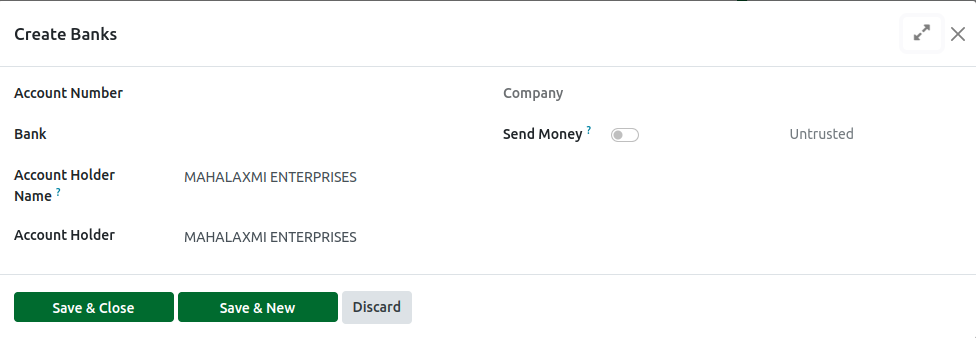
In the Invoicing tab,
- Account Number – Must be the vendor’s valid bank account number
- Bank Name – Name of the vendor’s bank
- Account Holder Name – Must match the Vendor Name exactly (no variations)
Note: Account Number is Mandatory field
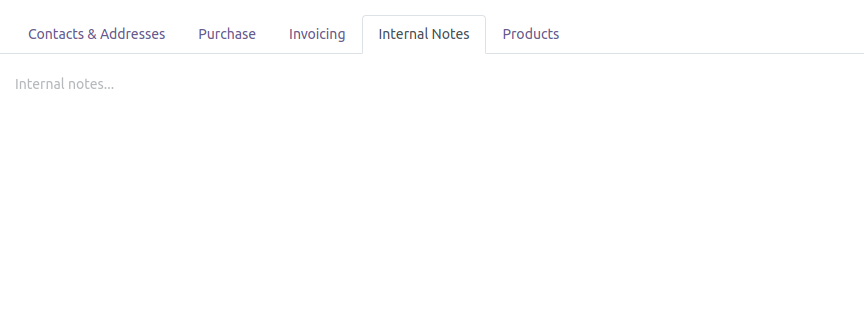
In Internal notes tab, add any internal notes related to the vendor.
Products Tab in Vendors
In the Products Tab,
All products that are mapped to the selected vendor will be displayed and the following details are shown:
- The Product name
- Product variant
- Minimum Quantity
- Basic Cost

