How to Filter, Search and Group the Vendor Master Data in Odoo
Managing vendor information is important for smooth purchasing and financial operations. Odoo’s Vendor Master keeps all supplier details in one place, including names, contact information, tax details, and history of transactions. With powerful search, filter, and grouping tools it becomes easy to organize vendor data and quickly find the information you need.
Accessing the Vendor Master in Odoo
To open the Vendor Master, go to the Purchase module from the main menu. Then select Orders and click on Vendors. Once the Vendor Master opens, you will see the complete list of all vendors stored in your system.
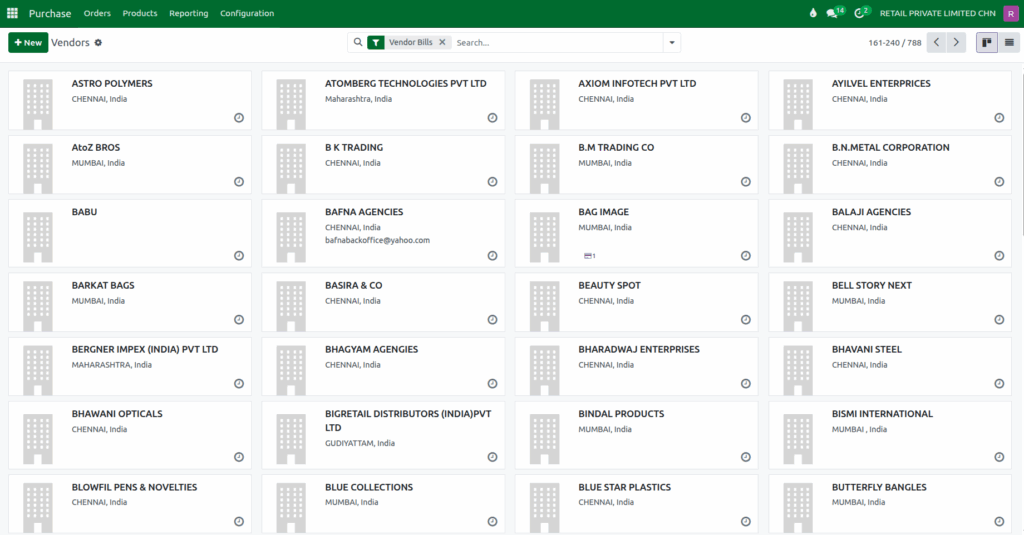
The Vendor Master screen is displayed in the Kanban View, where each vendor appears as a card arranged in columns. This visual layout makes it easy to scan through vendor records, understand their status at a glance, and access their contact details, address, and tax information in a clear and organized way.
By default, Odoo applies the Vendor Bills filter on this screen. This filter shows vendors who have at least one vendor bill recorded.
Using the Search Bar in the Vendor Master
The search bar in the Vendor Master makes it easy to find the vendor you need without browsing through the entire list. You can quickly search using the vendor’s name, email address, phone or mobile number, or even the related company.

These search options help you locate the exact vendor record within seconds, ensuring faster access to important supplier information.
Using the Filter Options in the Vendor Master
Odoo provides predefined filters to refine your vendor list. When you click the ▼ drop down icon in the search bar, you can instantly filter records based on specific categories.
The Individual filter displays only those vendors that have been created as individual contacts, while the Company filter shows vendors which is marked as company. If you want to view inactive vendors you can use the Archived filter. These built-in filters help you quickly focus on the exact type of vendor records you want to review, making your search faster and more efficient.
Applying Custom Filters
If you want more precise control, Odoo allows you to create your own custom filters. When you click Add Custom Filter, a popup window appears with a default rule that you can adjust. You can select fields such as Vendor Payment Terms, Fiscal Position and apply an operator like contains, is equal to or does not contain , etc.. and enter the value you want.

After entering the required value and clicking Add, Odoo instantly displays only those vendor records that meet your chosen conditions.
Using Group By Options in the Vendor Master
Grouping helps you analyze vendor information in an organized way. By clicking the ▼ drop down icon in the search bar and in the Group By section, you can group your vendor records based on different fields.
You can group vendors by Company to see all contacts linked to the same business, by Country to understand your geographical vendor distribution. These grouping options give you a structured view of your vendor data and make analysis easier.
Applying Custom Grouping Options
For more advanced organization, Odoo lets you use custom grouping. Clicking Add Custom Group shows additional fields that can be used for grouping, such as GST Treatment , State or any other relevant grouping option.
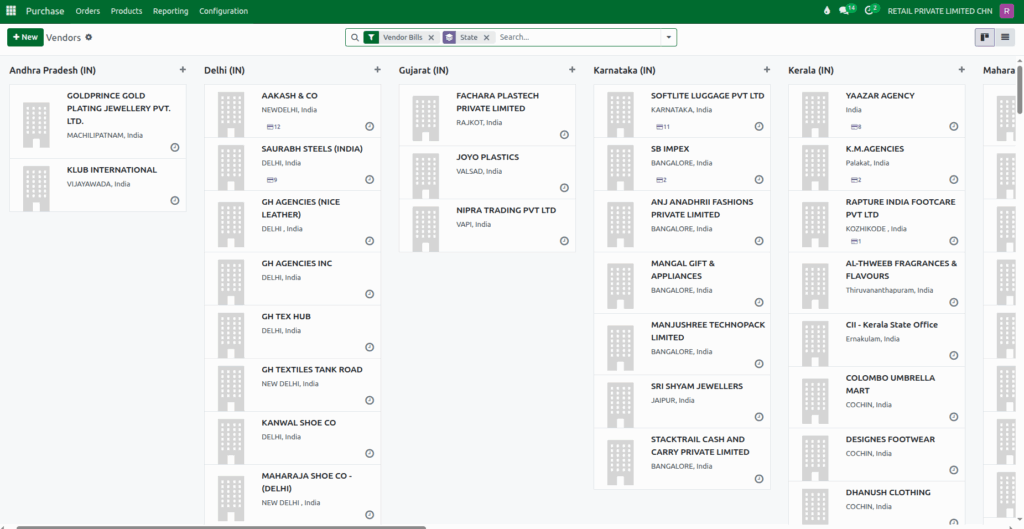
Once a grouping option is selected, Odoo automatically reorganizes the list, giving you a structured view that makes it easier to review vendor performance and regional distribution.
Saving Favorites for Quick Reuse
Odoo allows you to save your search filters and grouping preferences for future use. To save your current settings, open the drop down menu and select Save Current Search. You can name your saved filter, set it as the default view or share it with other users.
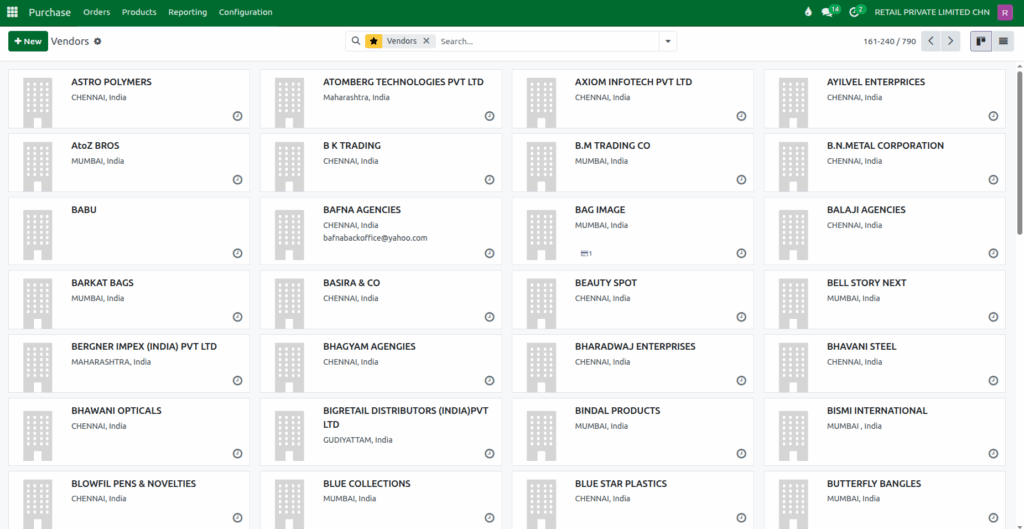
Saved searches can be applied anytime with a single click, and unwanted filters can be removed using the delete (trash) icon. This feature makes repeated reporting faster and more convenient.
By using these features in the Vendor Master, you gain clearer insights into your supplier information and communication details. This allows you to make better purchasing decisions, streamline vendor interactions, and manage your procurement operations more efficiently.
