How to Create a Sales Order in Odoo
A Sales Order in Odoo is a document that captures the details of a customer’s purchase. It helps manage sales, track product deliveries, and generate invoices efficiently. Whenever a quotation is confirmed by a customer, it automatically becomes a sales order. Odoo simplifies this process by auto-filling most of the details based on the customer’s profile, reducing manual work and ensuring accuracy.
Starting the Sales Order
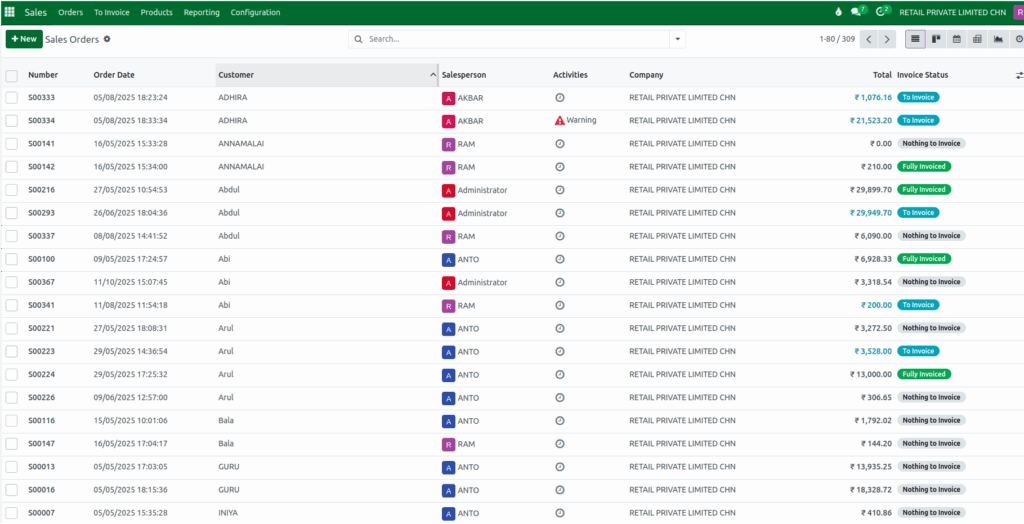
To begin creating a new sales order, go to the main menu and navigate to Sales → Orders → Orders. On the Orders page, you can view all the existing sales orders along with their details. To create a new one, click the New button. This will open a blank sales order form where you can start entering your customer details and order information.
The first step in creating a sales order is to select the Customer. Once you choose a customer from the list, Odoo automatically fills in important details like the Invoice Address and Delivery Address. These details are fetched directly from the Customer Master, which stores all the customer information.
For a Sales Order, the fields Customer, Invoice Address, and Delivery Address are mandatory and must be present before saving the document. The sales order number will also be generated automatically, but it only appears after you save the order for the first time. This ensures each sales order has a unique reference.
When a new sales order is created, Odoo automatically sets the Quotation Date and Expiration Date to the current date. This automation helps maintain consistency in your order processing timeline.
Selecting the Pricelist and Payment Terms
The Pricelist field is automatically filled based on the default pricelist assigned to the customer. However, if you wish to apply a different pricing structure, you can manually change it from the dropdown menu.
Similarly, Payment Terms are automatically pulled from the customer’s configuration if they are already defined. If not, you can choose the appropriate payment terms manually while creating the sales order.
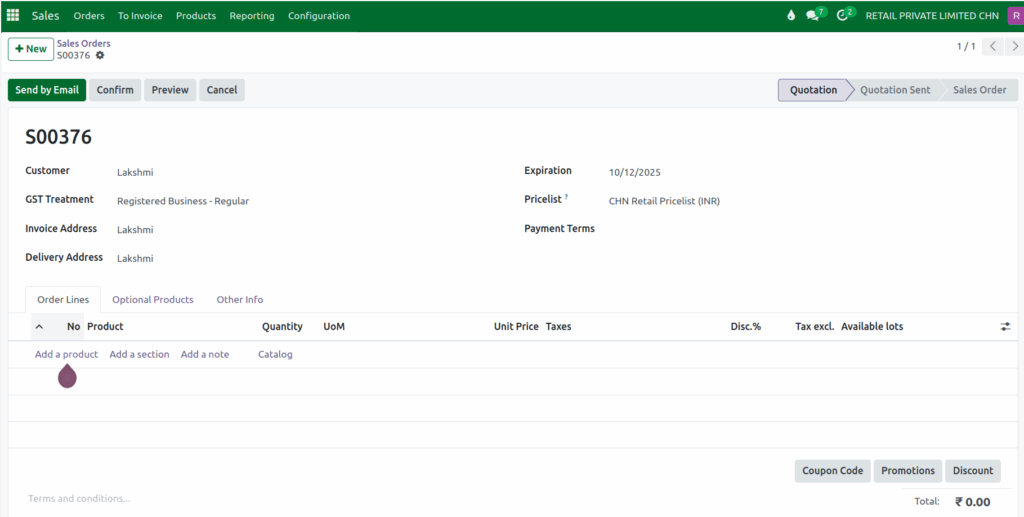
Adding Products to the Sales Order
Next, you can add products to the order. Odoo offers multiple ways to do this, you can search for products by entering the product code, product name, barcode, or even the lot barcode. Once you add the products, enter the quantity required for each item.
In the Available Lots field, select the correct lot for each product. This step is important for tracking and traceability. If you forget to select a lot before confirming the order, Odoo will show a validation message saying: “You need to supply a lot/serial number for [Product Name].” This ensures that every product in your sales order is linked to a valid lot or serial number. For No Tracking product Available Lots field is not mandatory.

In Odoo, when you add a product to a sales order, the Unit Price shows the product’s selling price. The Taxes field automatically displays the sales tax set for that product. Odoo then calculates the Tax Excluded Price to show the amount before tax is applied.
Example: Unit Price – 1,895.0000, Tax Rate – 18
Tax Excl. = Unit Price / (1 + Tax rate) => 1,895 / 1.18 = 1605.94Confirming the Sales Order
After filling in all the necessary details including customer information, product details, pricelist, and payment terms review the order to make sure everything is accurate. Once confirmed, click the Confirm button to finalize your Sales Order. The order will then move forward in the process for delivery, invoicing, and further tracking.

