How to Create and Configure an Order Type in Odoo POS
Creating and configuring an Order Type in Odoo POS is an essential step for businesses that manage different kinds of sales channels or customer requests. Whether orders come from walk-ins, online platforms, or messaging apps, setting up order types helps categorize and streamline them within the POS system.
By customizing order types in Odoo, you can ensure smoother operations, better tracking, and improved efficiency at the point of sale.
Creating a New Order Type in Odoo POS
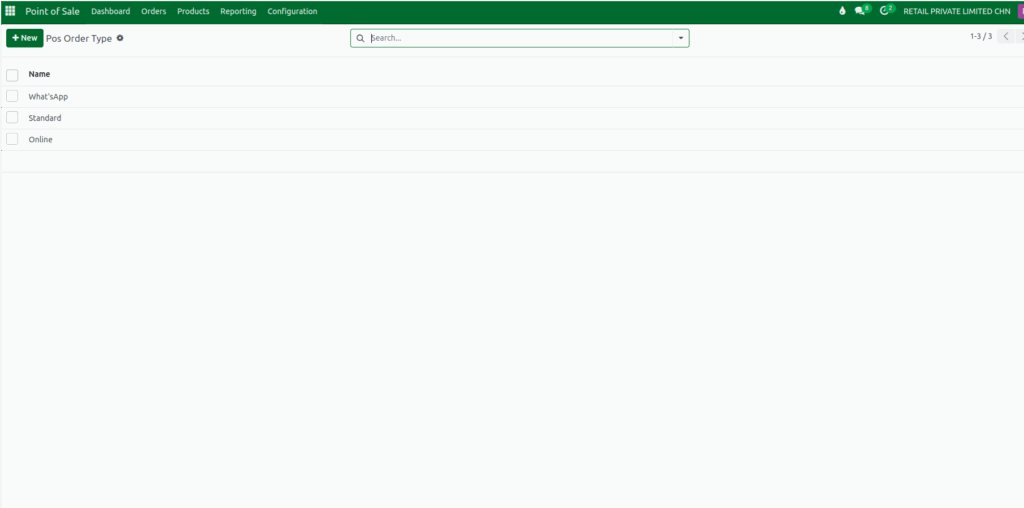
To begin, open the Point of Sale module and navigate to the Configurations menu, where you will find the POS Order Type option. Here, you can view all existing order types. If you want to add a new one, simply click the +New button, enter a name such as Standard, Online or WhatsApp and save it.
Configuring Order Types in the POS Terminal
Once the Order Type is created, the next step is to configure it inside the POS Terminal. Go to the Settings section under the Configurations menu and choose the POS Terminal you want to update.
In the POS Interface section, enable the Order Types feature by checking the option provided. When this feature is activated, two fields appear: Order Types and Default Type allowing you to assign one or more order types to the terminal.

In the Order Types field, you can select the order types you want to make available in that specific POS terminal. If the list doesn’t show the option you need, you can use Search More to find additional ones or create a completely new order type by clicking New, entering its name, and saving it.
After that, you can choose a Default Type, which will automatically apply to all new POS orders unless changed manually by the cashier. Once all settings are configured, click Save to apply the changes to your POS terminal.

This setup ensures that your POS system is well-organized, flexible, and aligned with different sales channels or workflows, making order management smoother and more efficient.
