How to Create a New Customer in POS in Odoo
To create a customer profile within the Odoo POS system, we can create the customer in an easier way by allowing the cashier to do it.
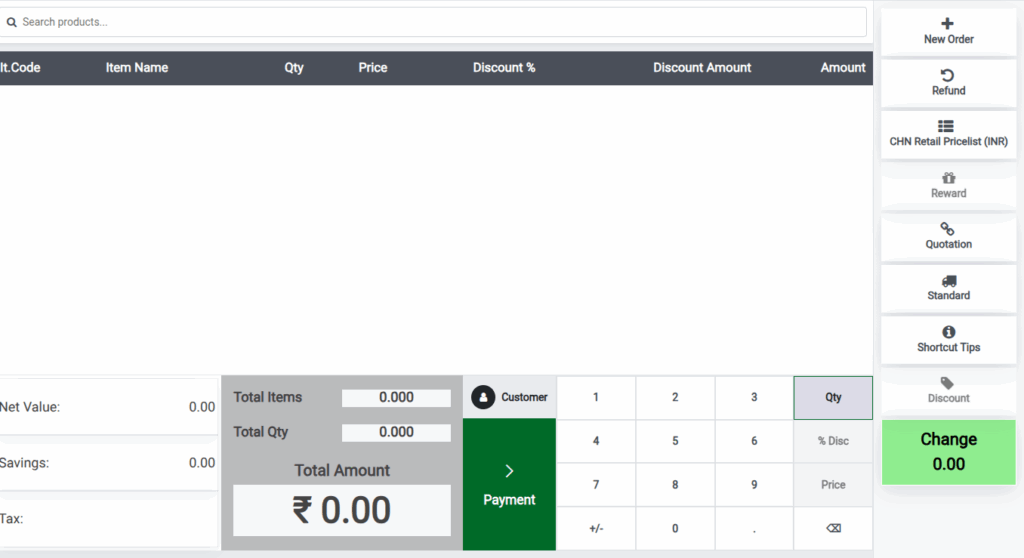
- Open the POS Interface: Navigate to the POS dashboard and start a new session
- Track Customer Purchase History: View the entire purchase history for each customer directly from the POS interface.
- Access the Customer Tab: In the POS screen, click on the Customer icon to open the customer section.
- Create a New Customer:
- Click on the Create Customer button.
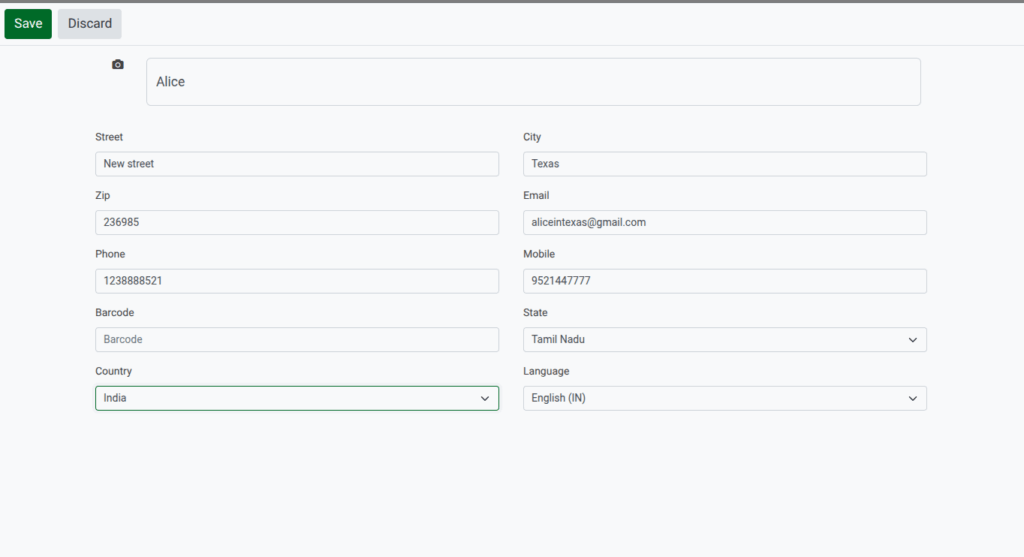
- Enter the customer’s name, email, phone number, and other relevant details.
- Save the Profile: Once all details are entered, click Save to create the customer profile.
Mandatory Field
Every customer record requires two mandatory fields:
- Customer Name
- Customer Mobile Number

Addition Customer Details
Email Id, Customer Card Barcode, Street Address, ZIP Code, city, select the state and country (From the dropdown).
Click the Save Button, the customer is automatically select for the current transaction.
In the POS interface, you can search for a customer by their name, email, or phone number. Once you locate the customer, click on their profile to view detailed information such as:
- Contact Information (email, phone number, address)
- Purchase History (list of products purchased and transaction dates)
- Loyalty Points (if applicable)
- Any active discounts or special programs tied to the customer.

