How to create Advance Receipt document in Adempiere Retail
An Advance Receipt is a document or entry created when a customer pays money in advance before receiving the product or service.
User Access
Who Can Access
- Admin
- Back Office
- Purchase Manager
- Manager
What User Can Do
- Create an advance receipt when a customer pays in advance.
- Record customer details and the amount received.
- Print or save the advance receipt.
- Use/adjust the advance amount later when the final bill is generated.
- Cancel/void an advance receipt (if wrong entry or customer cancels).
- View past advance receipts for tracking and reconciliation.
Pre-Requisite Activities
- Customer details are available in the system (Customer must be created/selected).
- Valid payment modes are configured (Cash/Card/UPI/Wallets).
- User has permission to create/edit/void advance receipts.
- POS terminal or billing system is connected and active.
- Tax rules and item details are properly set in the system.
Business Rules
- Advance amount must be > 0.
- Receipt cannot be created without selecting a customer.
- Once advance is used in billing, it cannot be reversed.
- Cancellation of advance receipt may need supervisor approval.
- Mode of payment must be selected before saving.
- Advance amount should appear in day-end cash settlement.
User Interface
STEP 1: To click a POS screen.
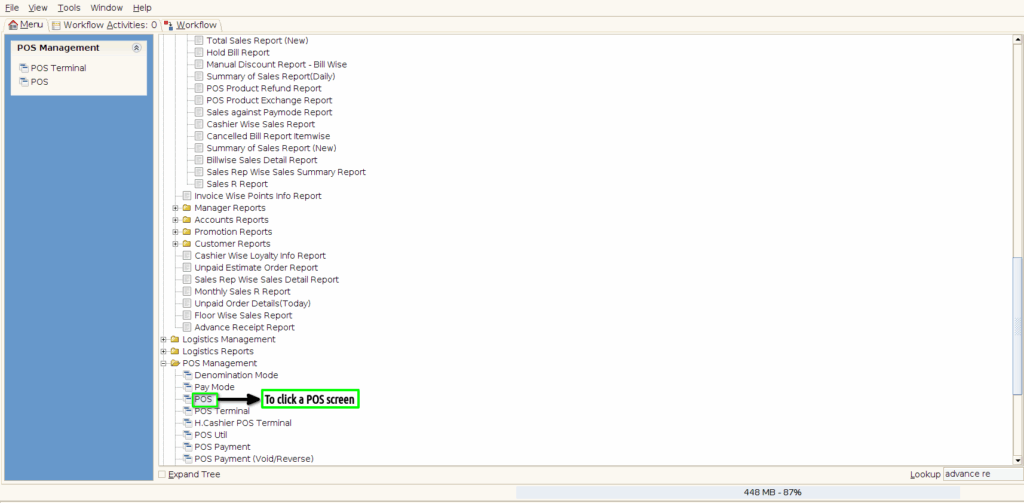
STEP 2: To open the POS screen.

STEP 3: Once to open the POS screen to click a Alt+A Advance order.

STEP 4: Once to click a Advance order if customer mandatory is on to show the Customer entry box.Then to enter a any of these parameter to show the customer details.

STEP 5: To enter a product code,ean no,product name or letters to search product.Once to enter a product to show the popup to enter a Sales Rep value and RNo value to click a check box.

STEP 6: Once to enter a products to click a f4 button(payment option) to show the advance payment window.To enter a advance Pay amount then to click a check box.

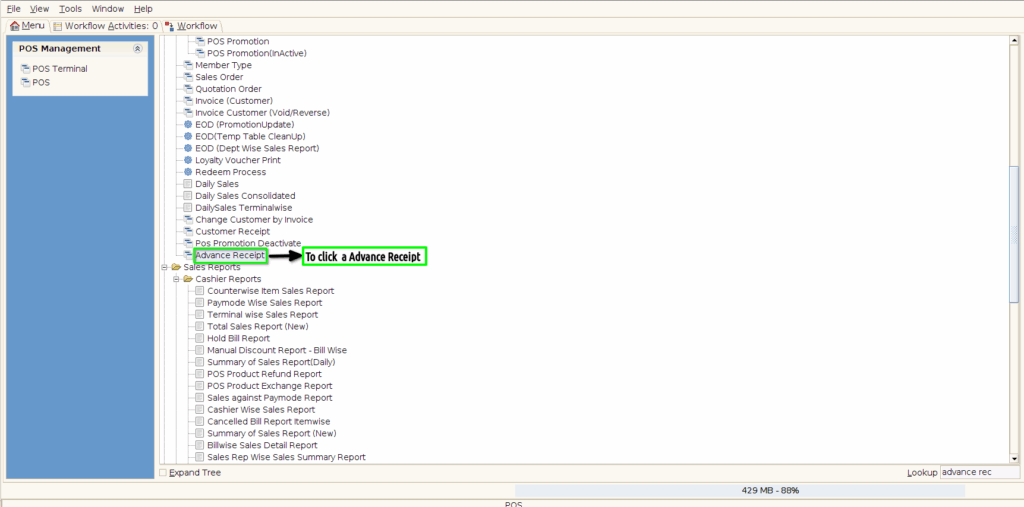
STEP 7: To click a Advance Receipt screen.
STEP 8:Once to complete the Advance order in POS to synch the document in advance receipt screen.
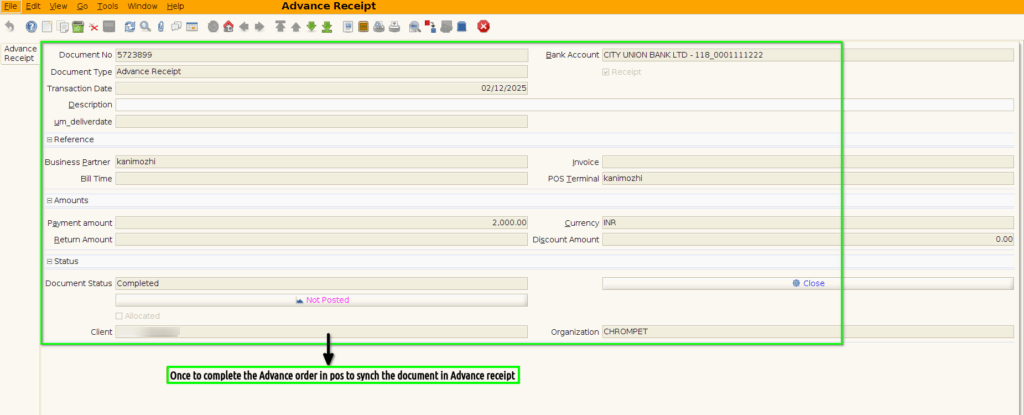
STEP 9: Once to show the document to click a print option.

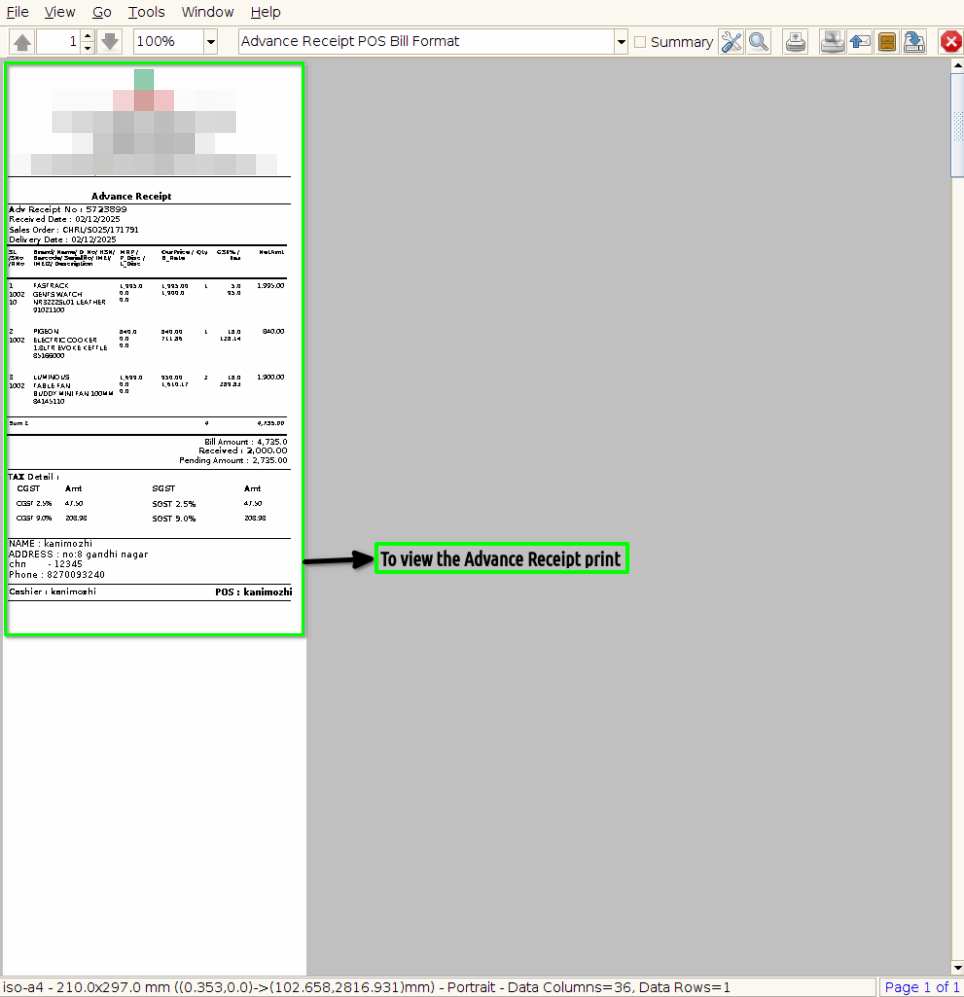
STEP 10: To show the Advance Receipt Print.