HOW IT WORKS – Install and Set Up the iDempiere Server on Ubuntu
Overview
This guide explains how to download the stable iDempiere server package, prepare its installation directory, create a PostgreSQL database account and database, configure the application server, import the initial database seed, and start iDempiere. The final step verifies the setup by opening the application in a web browser.
What you will complete
- Download the Linux server archive for the required iDempiere version.
- Place the server files under /opt and assign ownership to a dedicated system account.
- Create a PostgreSQL application role and database.
- Run the iDempiere console setup and save the server configuration.
- Import the initial iDempiere database structure and seed data.
- Start the server and sign in to verify that the application is available.
Before you begin
- Ubuntu 24.04 LTS or Ubuntu 22.04 LTS is installed and you can open a terminal.
- Java 17 is installed and its JAVA_HOME points to the correct Java 17 directory.
- PostgreSQL is installed and running, with access to the local PostgreSQL administrator account.
- You have sudo privileges and enough disk space for the server package and database.
- You have downloaded the Linux x86_64 server archive for the version you intend to use.
Important: The commands below use iDempiere version 13 and the example database name/user shown in the video. Confirm archive names and paths against the package you actually downloaded. Do not use the example password in a production environment.
Download the iDempiere Stable Server
Open the official iDempiere files repository:
SourceForge: https://sourceforge.net/projects/idempiere/files/
- Open the directory for the required release, such as v13.
- Open the server folder for that release.
- Download the server archive that matches your operating system and architecture. For this walkthrough, use the Linux x86_64 package.
Keep the downloaded archive in a known directory, such as your Downloads folder. The following commands assume you run them from the directory containing the ZIP file.
Extract the Package and Prepare Directories
1. Extract the downloaded archive. Replace the archive name if the downloaded file uses a different name.
unzip idempiereServer13.gtk.linux.x86_64.zip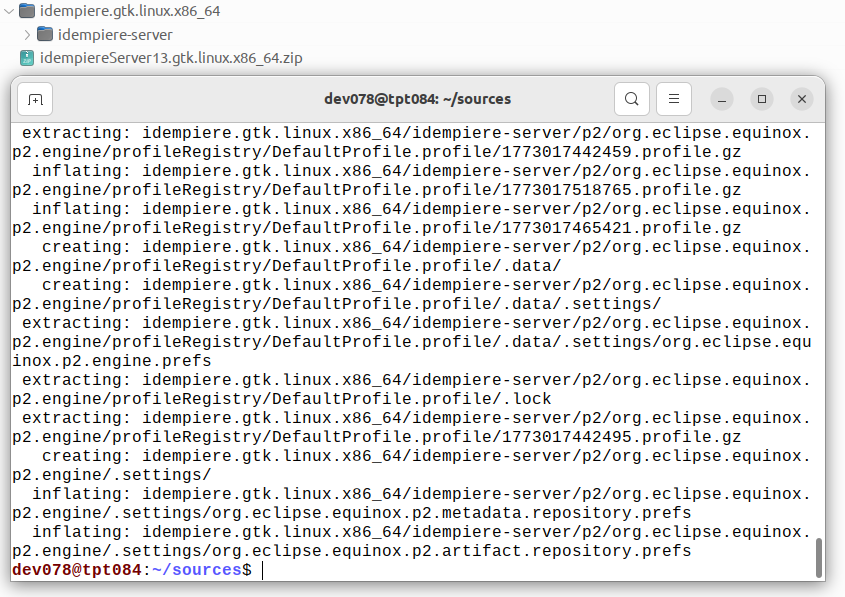
2. Move the extracted server directory to /opt, a conventional location for optional application software:
sudo mv idempiere.gtk.linux.x86_64/idempiere-server /opt/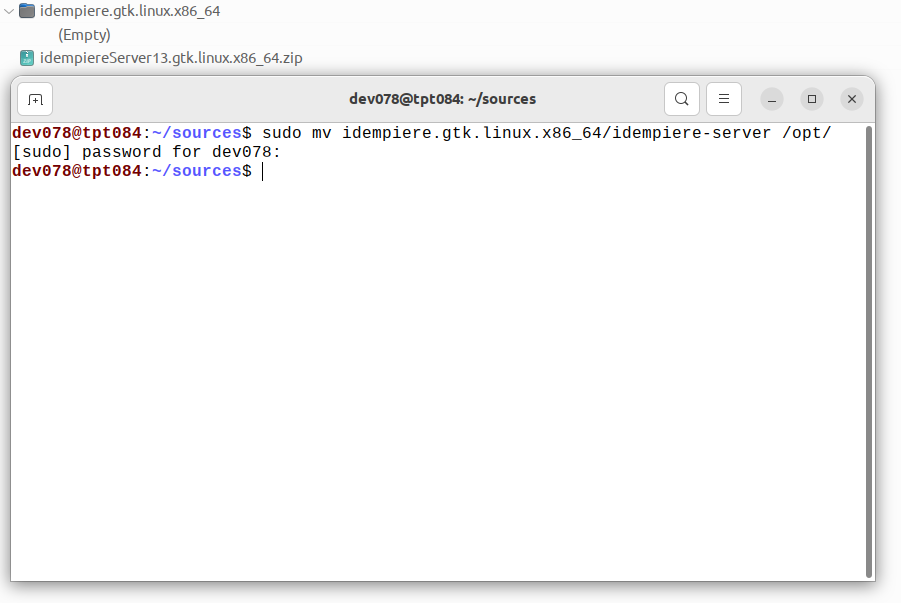
3. Create a dedicated system account for the server process, then assign ownership of the installation directory to it:
 sudo adduser --system --home /opt/idempiere-server --group idempiere
 sudo chown -R idempiere:idempiere /opt/idempiere-server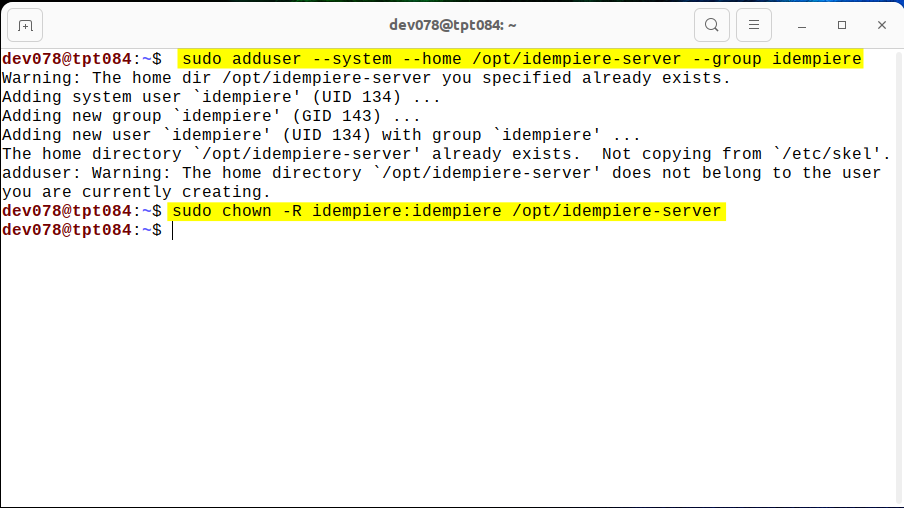
Why use a dedicated account? Running the application under a separate service account avoids running it as root and makes file ownership easier to manage.
Create the PostgreSQL Role and Database
1. Switch to the PostgreSQL operating-system account:
sudo -i -u postgres2. Create the application database role. PostgreSQL prompts you to enter and confirm a password:
createuser -P adempiere3. Create a database named idempiere owned by the adempiere role:
createdb -O adempiere idempiere4. Exit the PostgreSQL shell:
exit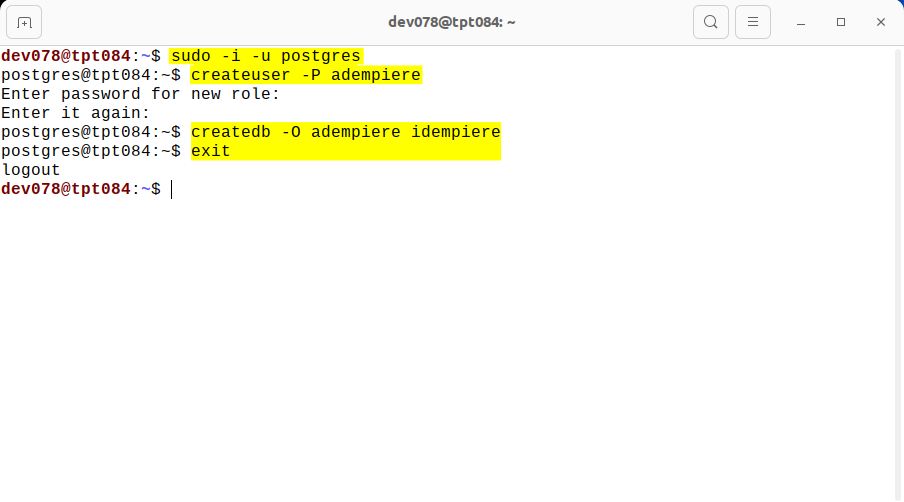
Database details used in this walkthrough
| Setting | Value |
| Database type | PostgreSQL |
| Host | localhost |
| Port | 5432 |
| Database name | idempiere |
| Application role | adempiere |
| Password | The password entered when creating the role |
Use a strong, unique password. The example password mentioned in the voice-over is for demonstration only and should not be reused.
Configure the iDempiere Application Server
iDempiere provides two ways to configure the application server on Linux:
- GUI Setup — Configure the server using the graphical setup window.
- Console Setup — Configure the server through the terminal.
Both methods configure the application server, database connection, network ports, security settings, and optional mail settings. Choose either method based on whether you have access to a graphical desktop environment.
Method 1: GUI-Based Setup (Recommended for Desktop Environments)
The graphical setup is useful when you want to configure iDempiere through a visual interface rather than answering terminal prompts.
Step 1: Open the iDempiere Installation Directory
1. Open a terminal and navigate to the installation directory:
cd /opt/idempiere-server2. Launch the graphical setup script:
sudo ./setup.sh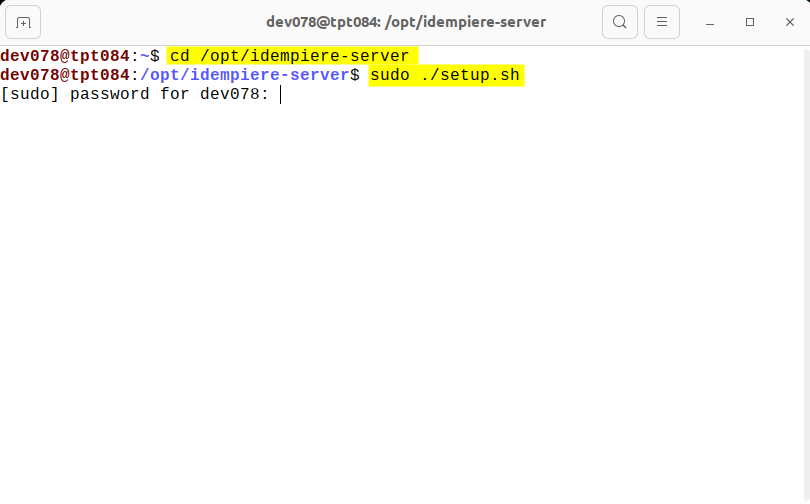
If the script is executable and your installation supports the graphical setup, the iDempiere Server Setup window will open.
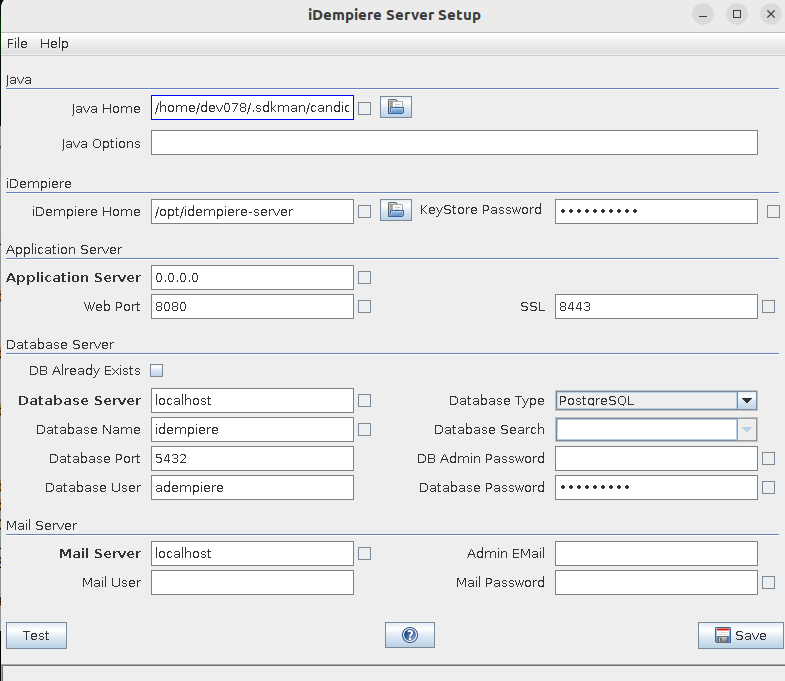
Note: The GUI setup requires a graphical desktop environment. The script name and launch requirements can vary by iDempiere package. If setup.sh is not available, check the files included in your installation directory.
Step 2: Configure the Java Settings
In the Java section, configure the Java runtime used by the iDempiere server.
| Field | Value / Instructions |
|---|---|
| Java Home | Enter the installed Java 17 directory, such as /usr/lib/jvm/java-17-openjdk-amd64. |
| Java Options | Review the default JVM options. Change memory settings only when required by your workload and available RAM. |
To verify your Java installation, run:
 java -version
 readlink -f "$(which java)"
Use the actual JDK/JRE home directory appropriate for your installation.
Step 3: Configure iDempiere Settings
In the iDempiere section, configure the installation directory and keystore.
| Field | Value / Instructions |
|---|---|
| iDempiere Home | /opt/idempiere-server |
| KeyStore Password | Enter a strong password for the server’s keystore. |
Keep the keystore password secure. Do not publish it in screenshots, tutorials, or source control.
Step 4: Configure the Application Server
In the Application Server section, configure the server address and ports.
| Field | Example value | Purpose |
|---|---|---|
| Application Server | 0.0.0.0 | Binds to all available IPv4 interfaces when supported. |
| Web Port | 8080 | HTTP access port. |
| SSL | 8443 | HTTPS access port. |
Important: Binding to 0.0.0.0 exposes the service on all applicable network interfaces. Restrict access through your firewall and deployment configuration. For production, configure HTTPS and valid certificates appropriately.
Step 5: Configure the PostgreSQL Database
In the Database Server section, configure the database connection.
If PostgreSQL is already installed, running, and the target database has been created, select DB Already Exists when appropriate.
| Field | Example value |
|---|---|
| Database Server | localhost |
| Database Name | idempiere |
| Database Port | 5432 |
| Database User | adempiere |
| Database Type | PostgreSQL |
| Database Search | Select the appropriate option if required by your package. |
| DB Admin Password | Enter the PostgreSQL administrator password if requested. |
| Database Password | Enter the password assigned to the adempiere role. |
These are example values. They must match the PostgreSQL database and role created during the database setup.
Before continuing, verify that:
- PostgreSQL is running.
- The target database exists.
- The
adempiererole has the required permissions. - The database credentials are correct.
Do not confuse the PostgreSQL administrator password with the application database user’s password.
Step 6: Configure Mail Settings
In the Mail Server section, configure outgoing email if your deployment requires it.
| Field | Instructions |
|---|---|
| Mail Server | Enter your SMTP server hostname. |
| Mail User | Enter the SMTP authentication username, if required. |
| Admin Email | Enter the administrator’s email address. |
| Mail Password | Enter the SMTP password or supported credential. |
For a local test environment, leave these fields unconfigured only if the setup permits it and email functionality is not required. For production, use the correct SMTP server and secure credentials.
Step 7: Test and Save the Configuration
At the bottom of the setup window, use the available controls:
- Click Test to validate the configuration if the package supports the test operation.
- Review any connection errors and correct the relevant fields.
- Click Save to write the configuration.
- Review the terminal output or logs for errors.
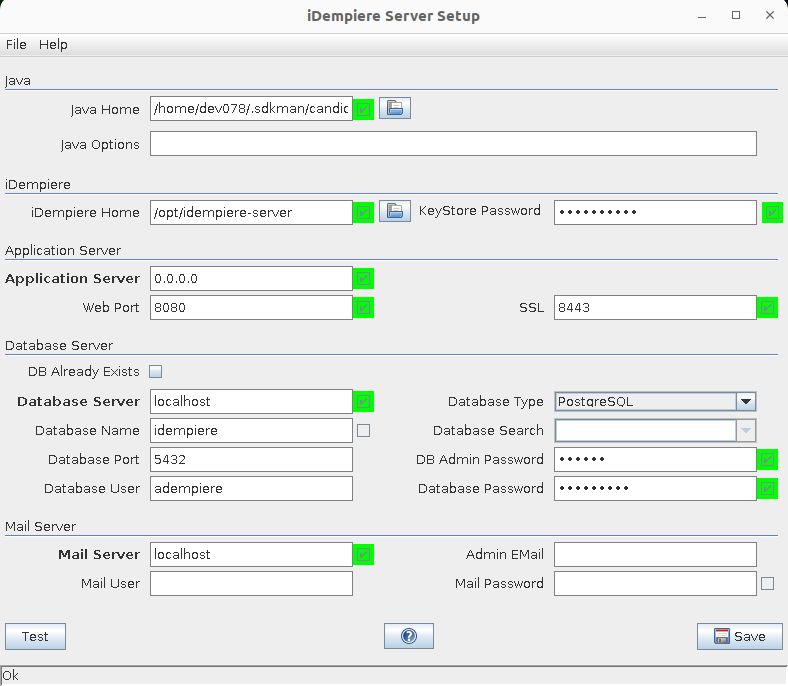
Saving the configuration does not necessarily mean that the server has started successfully. Confirm the configuration was written and then proceed to the server startup and verification steps.
Method 2: Console-Based Setup
Use this method when you prefer the terminal or are configuring a headless Linux server without a graphical desktop.
Step 1: Open the Installation Directory
cd /opt/idempiere-serverStep 2: Launch Console Setup
sudo ./console-setup.sh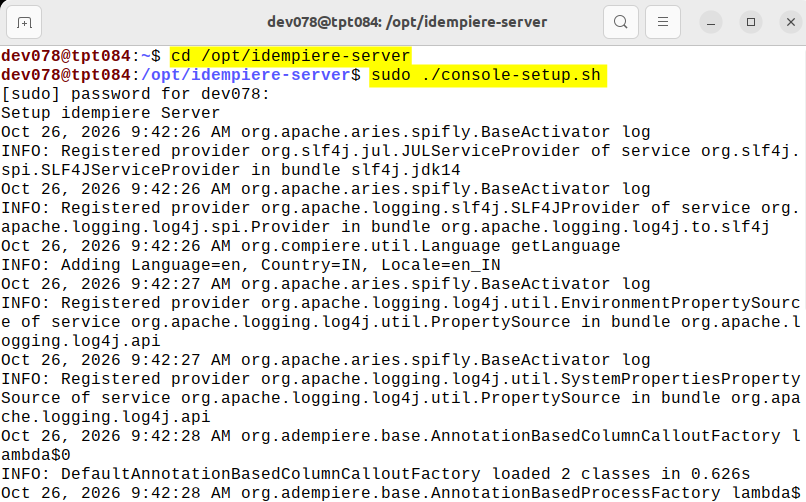
Follow the prompts. The exact wording and available options depend on the installed iDempiere package.
| Console prompt | What to enter / check |
| Java Home | Confirm the installed Java 17 path, for example /usr/lib/jvm/java-17-openjdk-amd64. |
| Java options / memory | Review the displayed defaults and adjust only if your machine has sufficient memory and the deployment requires it. |
| Installation directory | Confirm /opt/idempiere-server. |
| Keystore / certificate details | Set a secure keystore password. Use suitable certificate identity values for your environment. |
| HTTP / HTTPS ports | The walkthrough uses 8080 for HTTP and 8443 for HTTPS. Ensure these ports are available. |
| Database already running | Answer Yes if PostgreSQL is already installed, running, and the target database has been created. |
| Database driver | Select PostgreSQL. |
| Database host / port | Use localhost and 5432 for a local PostgreSQL instance. |
| Database name / user | Use idempiere and adempiere, matching the database created above. |
| Database password | Enter the password assigned to the adempiere PostgreSQL role. |
| Database administrator credentials | Provide the required database administrator credentials if the setup console requests them. Avoid sharing or recording these credentials. |
| Mail settings | For a local trial, optional mail settings may be left unconfigured if the console allows it. |
| Save configuration | Confirm the option to write the configuration and generate/update the launch scripts. |
Step 3: Verify the Setup
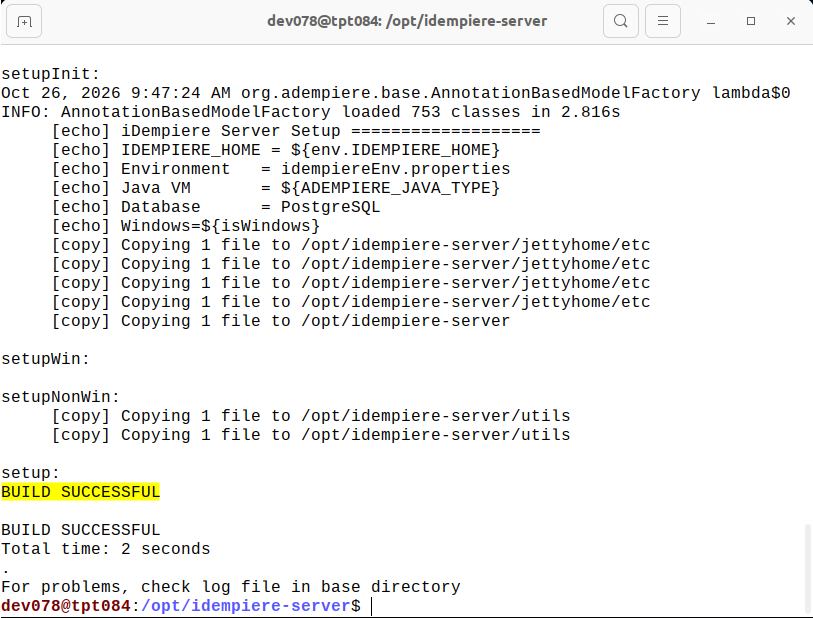
After the console setup finishes, review the terminal output for errors. Confirm that the configuration was saved and that the required server launch scripts are available.
If the configuration or connection test fails, verify the Java path, PostgreSQL service status, database credentials, permissions, and port availability before proceeding.
Which Method Should You Use?
| Requirement | Recommended method |
|---|---|
| Linux desktop with a graphical environment | GUI setup |
| Remote server accessed through SSH | Console setup |
| Prefer visual field-by-field configuration | GUI setup |
| Headless server or terminal-only workflow | Console setup |
Expected result: After completing either method, the iDempiere server configuration should be saved and ready for the next stage: starting the application server and verifying access through the configured web port.
Import the Initial iDempiere Database
1. Move to the server’s utils directory:
cd /opt/idempiere-server/utils2. Run the database import script:
sudo ./RUN_ImportIdempiere.sh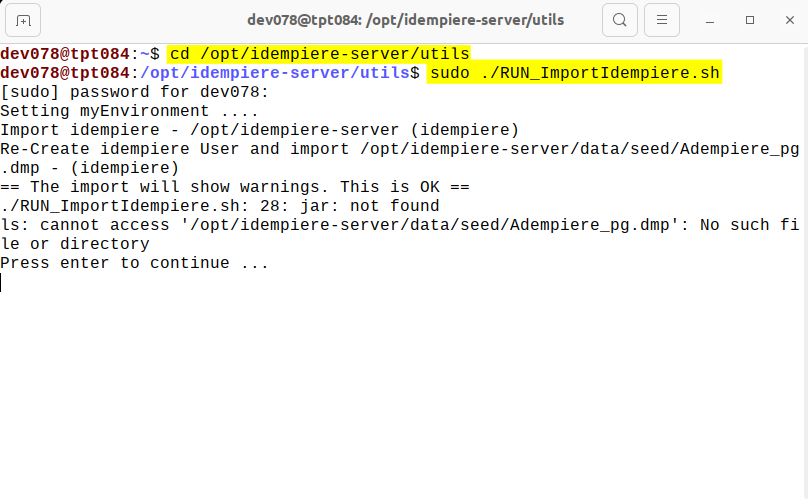
Read the warning shown by the script. If it asks for confirmation to initialize or overwrite the target database, continue only if this is the intended new/demo database and you are comfortable replacing its contents. Press Enter or provide the requested confirmation according to the prompt.
Caution: Database import can create or replace schema and seed data. Never run an overwrite/import operation against a database containing information you need to preserve. Back up important data first.
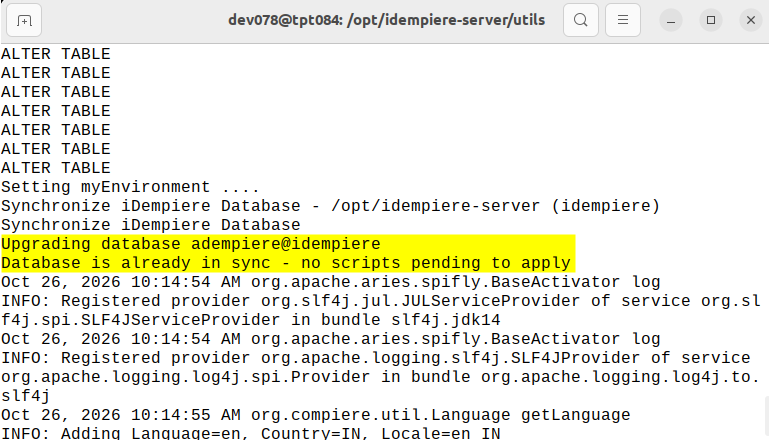
Wait for the script to complete and review the output for errors before starting the server.
Start the iDempiere Server
Return to the server installation directory and start the server:
 cd /opt/idempiere-server
 sudo ./idempiere-server.sh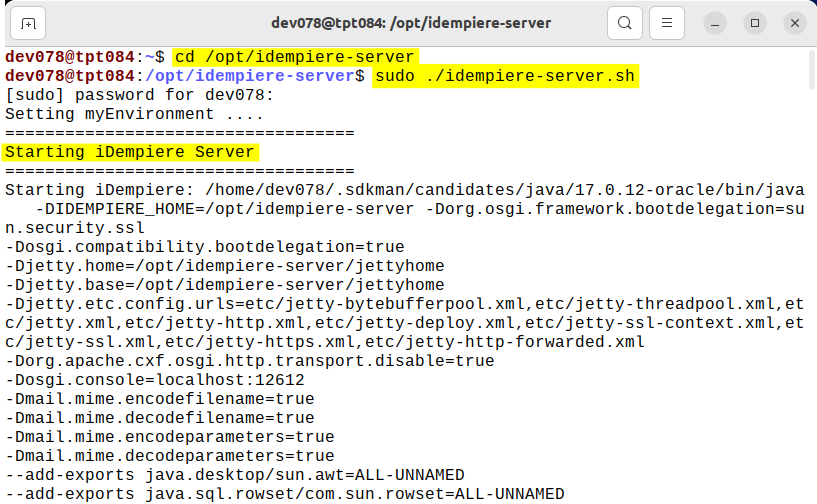
Keep the terminal open while the server is running. Review the startup output and wait for the application to finish initializing. If startup reports a port conflict, database connection problem, or Java configuration error, resolve it before testing the browser interface.
Open iDempiere in a Web Browser
Open a browser on the same machine and navigate to the configured application URL. With the example HTTP port, try:
http://localhost:8080
If the setup has configured a different host name, port, or HTTPS endpoint, use the URL shown by your installation configuration.
Sign in with the appropriate iDempiere SuperUser/System credentials for the imported seed database. Use the credentials supplied for your installation; do not assume that every package or database uses the same password.
After logging in, open the Business Partner window from the application navigation menu. Confirm that the window opens and that the expected initial data is available. This provides a basic end-to-end check that the application can communicate with the database.
Verification Checklist
- The server archive was extracted successfully and the files are under /opt/idempiere-server.
- The idempiere system account owns the installation directory.
- The PostgreSQL role adempiere and database idempiere exist.
- The console setup completed and saved the server configuration.
- The database import script completed without errors.
- The server starts without fatal Java, database, or port errors.
- The application URL opens in a browser.
- You can sign in and open the Business Partner window.
Common Issues to Check
| Symptom | First checks |
| Java path is incorrect | Verify Java 17 is installed and confirm the JAVA_HOME path used by the setup console. |
| Database connection fails | Check that PostgreSQL is running, port 5432 is listening, the database and role exist, and the password is correct. |
| Import fails | Read the first meaningful error in the import output, verify database access, and confirm the target database is the intended empty/demo database. |
| Port 8080 or 8443 is already in use | Identify the process using the port or configure iDempiere to use an available port, then update the URL accordingly. |
| Browser cannot connect | Confirm server startup completed, use the configured port and protocol, and check local firewall/network settings. |
| Permission denied | Review ownership and permissions under /opt/idempiere-server. Avoid solving permission problems by running the application permanently as root. |
Completion
The local iDempiere server setup is complete when the database import finishes successfully, the server starts without fatal errors, and you can sign in through the browser and open the Business Partner window. The environment is then ready for further configuration and demonstration use. For a production deployment, review security, TLS certificates, credentials, backups, service management, and resource sizing separately.