How to Configure Request (all) in iDempiere
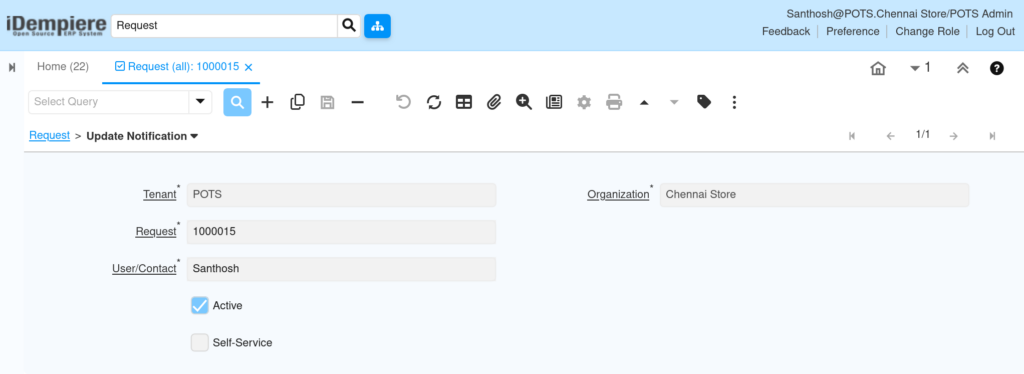
Request (all) is the management-level view of iDempiere’s request tracking system, built as the personal Request window. It removes the sales-rep filter so supervisors and administrators can see every customer service, POS, and vendor request logged across the retail organization.
This visibility supports store operations by making it easier to track issue volume, monitor response times, and report on service quality across multiple branches from a single screen.
Process Flow
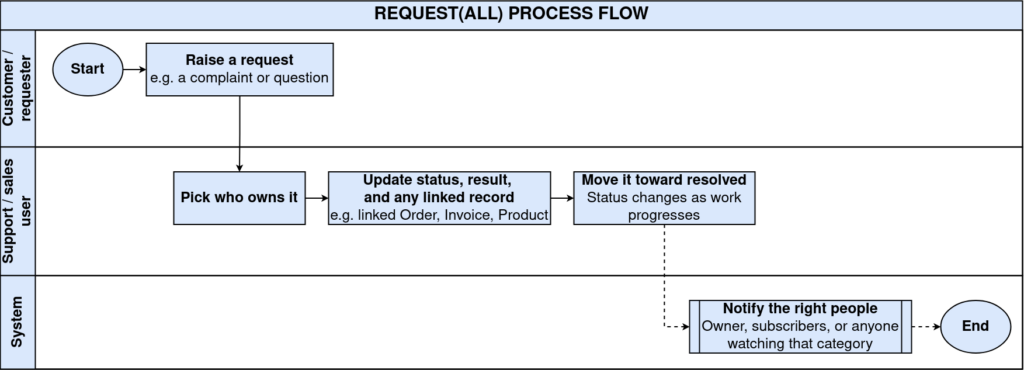
Business Rules
- Request (all) displays every request the logged-in role is authorized to view, not only the user’s own.
- Access is controlled through role-based window assignment, not by hiding fields or tabs.
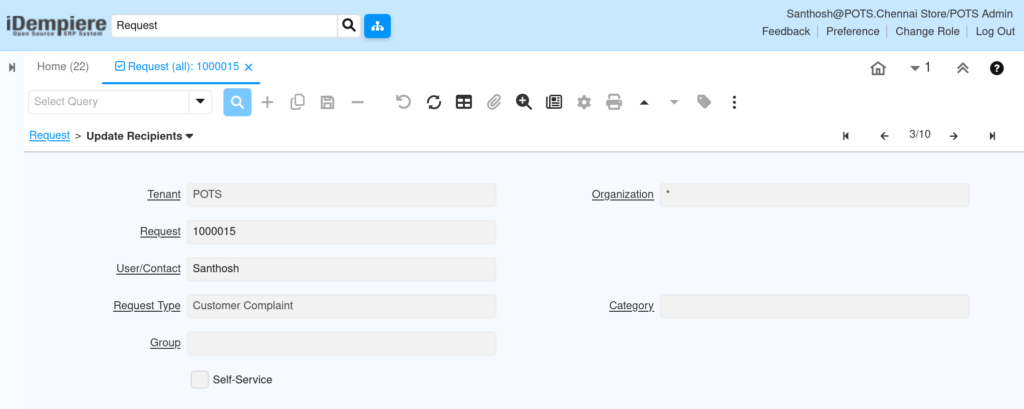
- Request Type and Status determine how each request is classified and processed.
- The Sales Representative field stays visible but does not filter the results in this window.
- Organization access on the role determines which stores’ requests are visible.
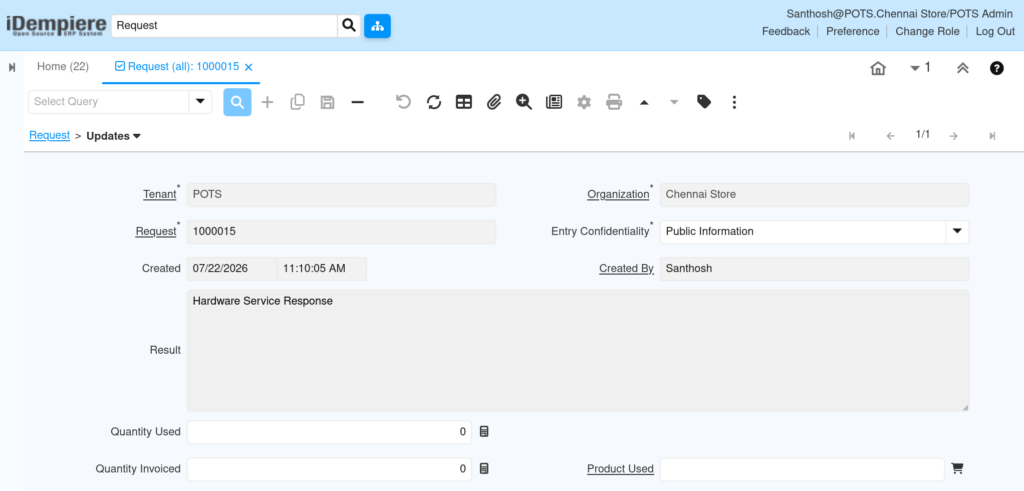
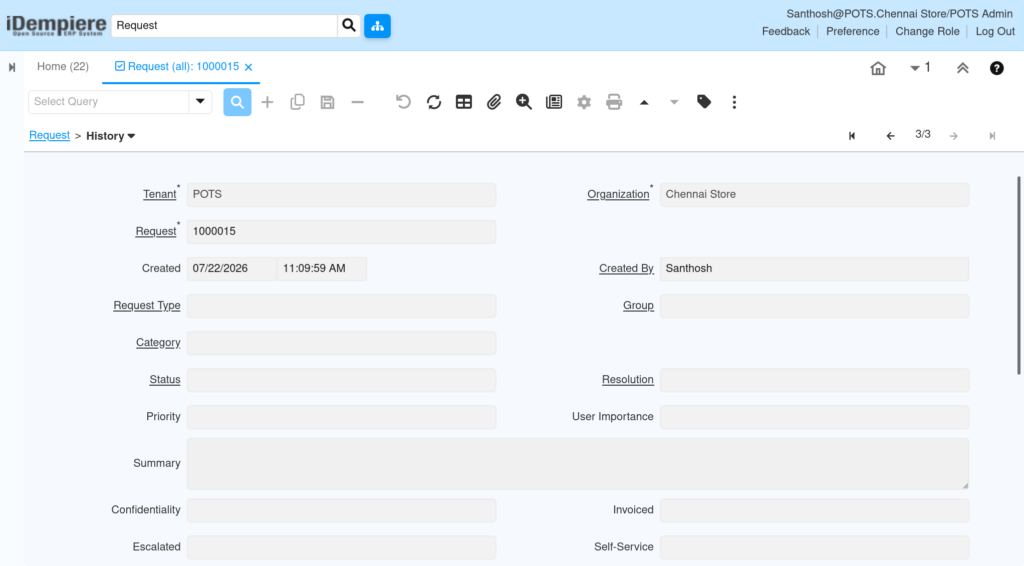
- Request History and Request Updates tabs record all status changes for audit purposes.
Prerequisites
- Business Partner configured (for customer or vendor linked requests).
- Organization and Role Access configured for the Request (all) window.
- Request Type configured (e.g., Complaint, Service, POS Issue).
- Request Group or Category configured, if used for classification.
- User records configured as Sales Representative where applicable.
- Window access granted to Help Desk Manager or Administrator role.
Navigation
Menu → Partner Relation → Request → Request (all)
Configuration Steps
Step 1: Grant Role Access to Request (all)
Open the Role window, select the Help Desk Manager or Administrator role, go to the Window Access tab, add Request (all), and enable Read Write.
| Field | Sample Value | Purpose |
| Role | Help Desk Manager | Role receiving access to the window |
| Window | Request (all) | Window being granted |
| Active | Yes | Enables the access record |
| Read Write | Yes | Allows editing, not just viewing |
Step 2: Configure Request Types
Open the Request Type window and create entries such as POS Issue, Refund, and Vendor Complaint. Mark the most common type as Default.
| Field | Sample Value | Purpose |
| Name | POS Issue | Identifies the request category |
| Description | Point of Sale malfunction | Clarifies intended use |
| Default | No | Marks the pre-selected type |
| Active | Yes | Makes the type available for selection |
Step 3: Configure Request Group or Category
Open Request Group and create groups relevant to retail operations, such as Store Operations, Vendor Management, and Customer Service.
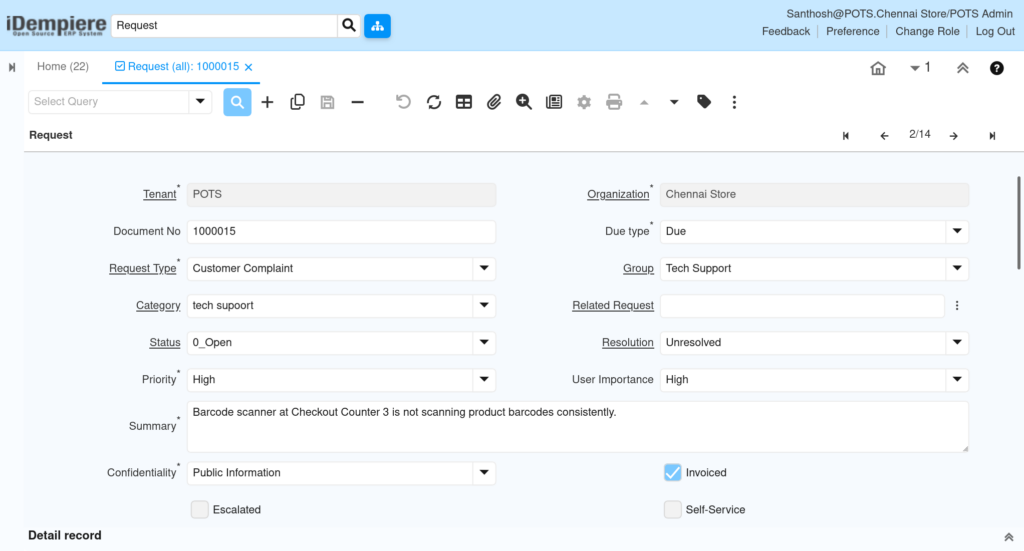
Step 4: Confirm Sales Representative Assignment
Verify each User record used to log requests is linked as a Sales Representative in the User window before requests are created.
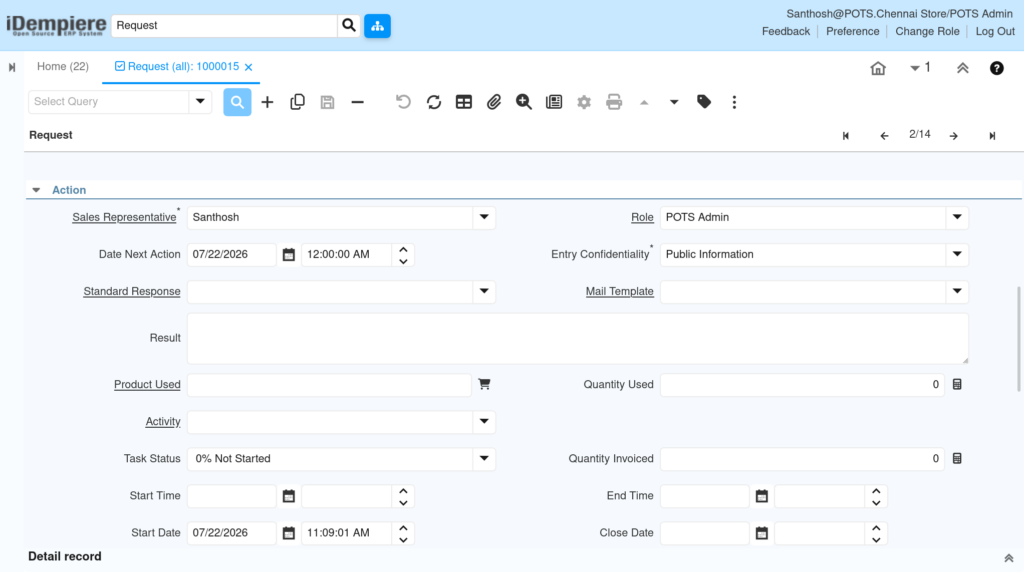
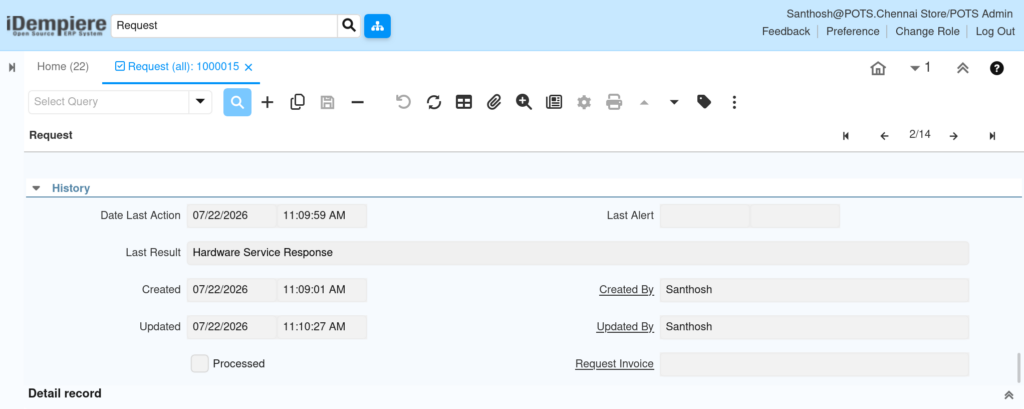
Step 5: Verify Organization Access for the Role
In the Role window, open the Org Access tab and add every store the manager is responsible for.
| Field | Sample Value | Purpose |
| Organization | Chennai Store | Store included in the manager’s scope |
| Role | Help Desk Manager | Role receiving the org access |
| Active | Yes | Enables the access record |
Common Issues and Resolutions
| Issue | Cause | Resolution |
| User cannot see Request (all) in the menu | Role lacks window access | Add the window under Role > Window Access |
| Sales Representative field is blank | User not linked as Sales Rep | Configure the User as Sales Rep in the User window |
| Manager can view but not edit requests | Role has Read Only window access | Enable Read Write on Window Access |
| Closed requests still appear as open | Status not updated during workflow | Ensure agents close requests through the correct status |
Next Steps
- Configure the Request Type window for consistent classification.
- Configure the Request Group window for store or department grouping.
- Review Role Org Access for all supervisory and admin roles.
- Set up notification or alert rules for high-priority requests.